Perform risk assessment
![]()
Content in this topic requires OnPoint Audit.
Analytical review
Understanding the Entity
Understanding IT environment
Risk assessment procedures
Accounting estimates
Group audits
Risk Summary
Use the documents under the risk assessment phase to incorporate:
Your understanding of the client
Accounting estimates
Your assessment of risks such as fraud
Complete the analytical procedures
Complete 2-100 - Review Overall Analysis.
Use this document to form predictions of recorded amounts or ratios developed from recorded amounts. This is a process known as forming expectations.
2-100 - Review Overall Analysis also contains an Analysis tab with graphs and tables.
Use the analysis tab to:
- Look for trends.
- Compare and calculate ratios.
- Investigate discrepancies.
- Confirm expectations.
Understanding the entity
Complete 2-200 Identifying risks through understanding the entity.
Use this to identify and document possible sources of risk through obtaining and updating your understanding of the entity. Once documented, select Completed, with no exceptions and Signoff.
Accounting estimates
Complete 2-700 Understanding accounting estimates and related disclosures. This document is split into three parts:
Part A - Identify Accounting Estimates and Related Disclosure
Select financial statement areas with accounting estimates under the categories of Assets, Liabilities & Equity and Income Statement.
Note that only those selected will appear in work programs and the remaining will be hidden.
- Each financial statement area will include an Accounting estimates - Risk assessment procedures and risk response form in the Fieldwork phase. To learn more, see Accounting estimates.
Part B - Impact of Pervasive Control Deficiencies
Record the estimates identified throughout the engagement in the table.
Answering each in the table to identify associated risks.
Part C - Conclusion
Evaluate whether there are indications of possible management bias in the preparation of the estimates.
Complete the table and record your findings.
Add a risk
It may be necessary to add risks as you progress through your engagement.
For example, you may need to add a Financial Statement risk due to negative cash flows from operating activities, which causes a risk of going concern.
To add a risk:
Select the Add icon (
 ) (located at the top right) and select New | Risk or select the Risks page and select NEW RISK.
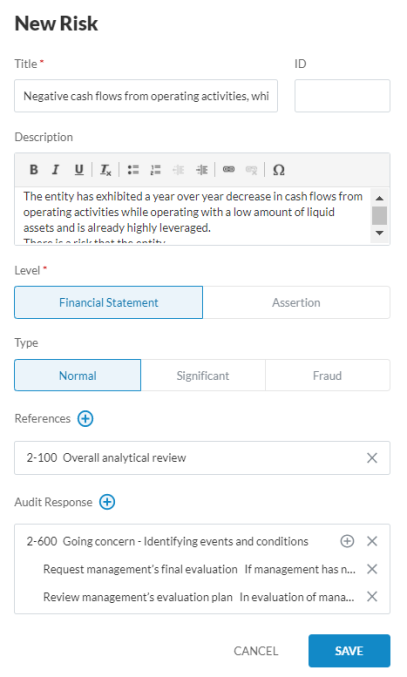
Complete the New Risk dialog by adding a Title, ID and Description and Level.
You can also add the Risk Type and select the Add icon (
) to include References and Audit Response to engagements.The image below shows an example of a risk:
Note: If you select Assertion as a Level, you will have the option to select the Add icon (
) to add Areas such as Cash & cash equivalents and Disposal group assets held-for-sale. Once added, you can select the assertions applicable to each area. See image below: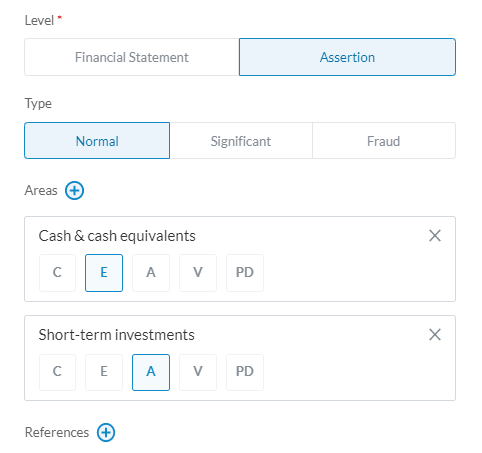
Select Save.
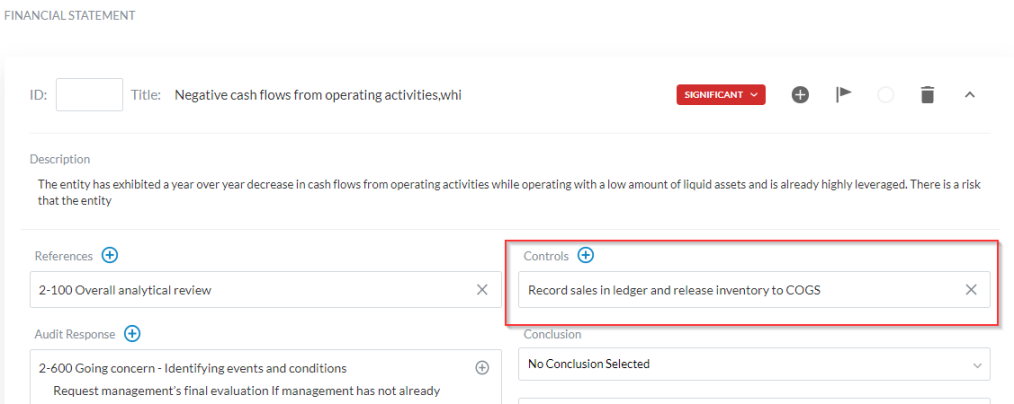
A new risk displays on the right corner of the screen. To view your risk, select Open. You can also view your risk under the Risks page.
To edit your risk, select the risk you would like to edit to expand the risk report. In the risk report, you can also now select the Add icon () to reference an existing control in place. To learn more about controls, see Add a control.