Organize internal entities
You can use Internal Entities to help organize your organization's files and activities in Cloud. Internal entities can represent departments, activities, or specializations within your business.
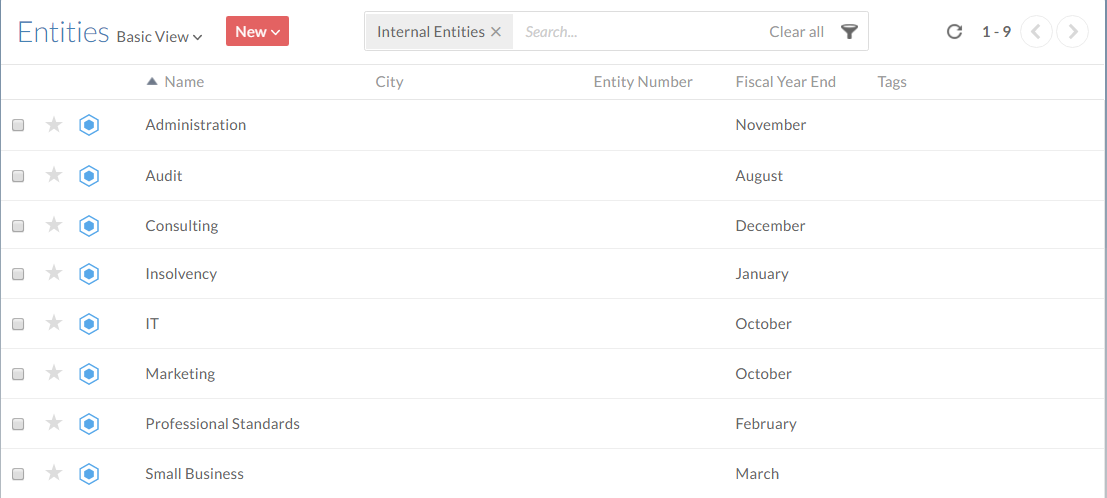
In this example, the administrator has created internal entities by department. The management team has decided that the Administration team would benefit from having its own entity, so the administrator adds another entity.
To create an internal entity:
-
Ensure you have the Entities Admin role or equivalent rights.
-
From the Cloud menu, select Entities.
-
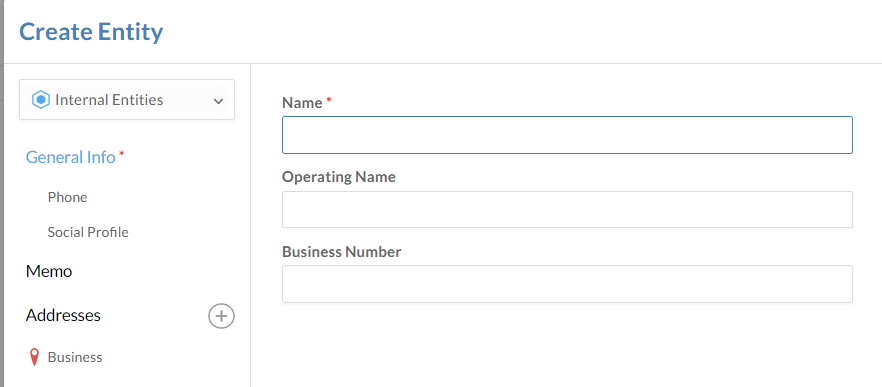
Select New | Internal Entity.

-
Enter a Name for the entity and complete the remaining fields as appropriate.
-
Select Save to add the entity.
The entity is created. You can see the new entity in the Entities page.
Managing access to your internal entity
With your internal entity created, you'll need to edit its share settings to ensure that the appropriate staff and contacts can access the files and activities associated with it.
To view or edit user permissions on an entity:
-
Ensure you have the Staff: Owner role on the entity or equivalent rights.
-
From the Cloud menu, select Entities.
-
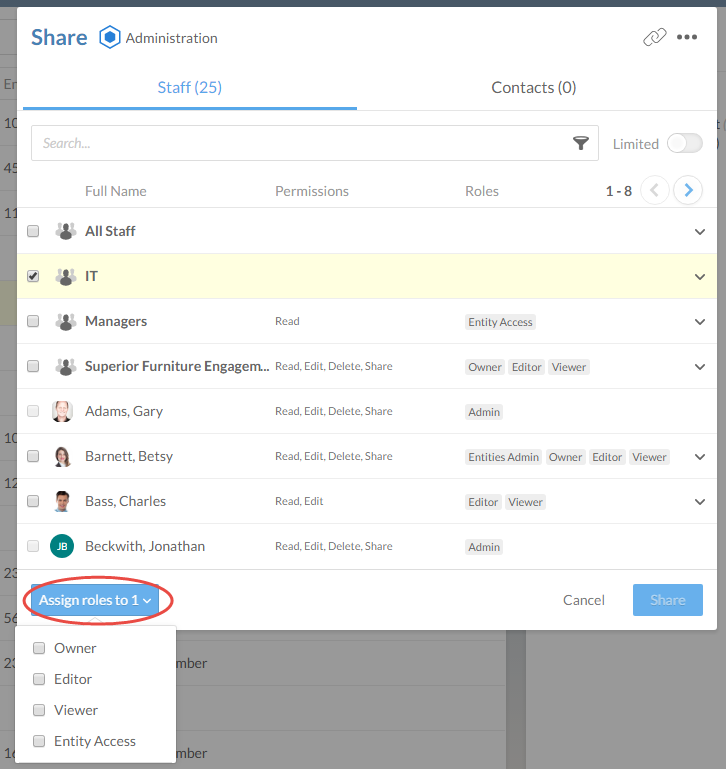
Select the entity you want to edit., then select Share.

-
Select the users or groups you want to have access to the entity, then select Assign roles to (#) and assign the appropriate roles.
-
Select Share.