Create custom groups in tables
You can create custom groups in dynamic tables using two methods:
-
Group multiple rows.
-
Add a custom group row.
Group multiple input rows
You can group multiple rows to create a custom group in dynamic tables.
To create a custom group by grouping multiple rows:
-
Select the table.
-
Select More actions (
 ) | Edit Dynamic Table.
 -
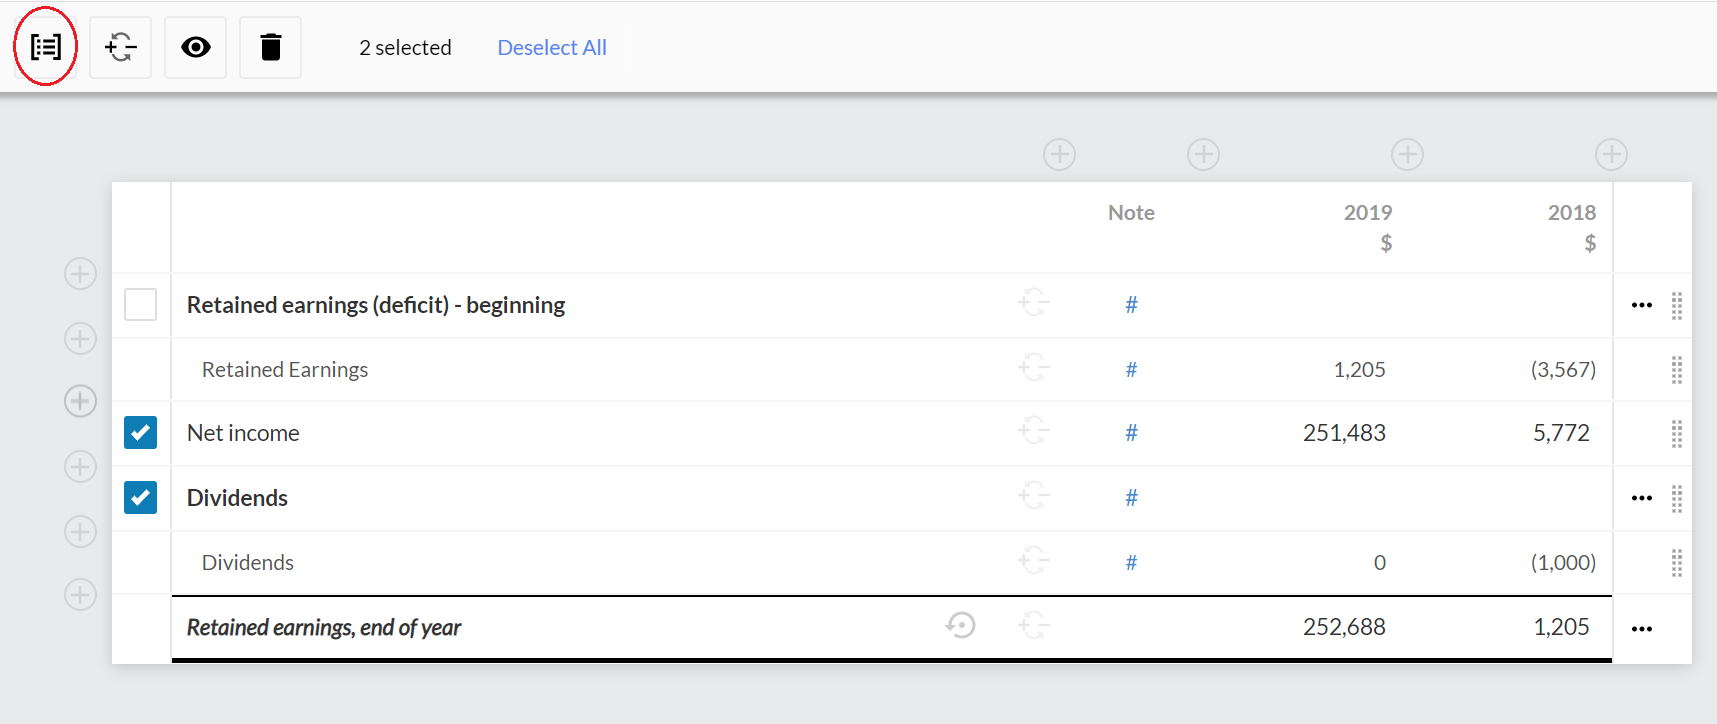
Select the rows that you want to group.
- Trial balance rows, input rows or a combination of both
- Single account rows or group rows
-
Select the Group selected rows icon (
 )
) -
Select SAVE & CLOSE.
Icons for table options display on the right.
The table opens in edit mode.
Note that you can select:
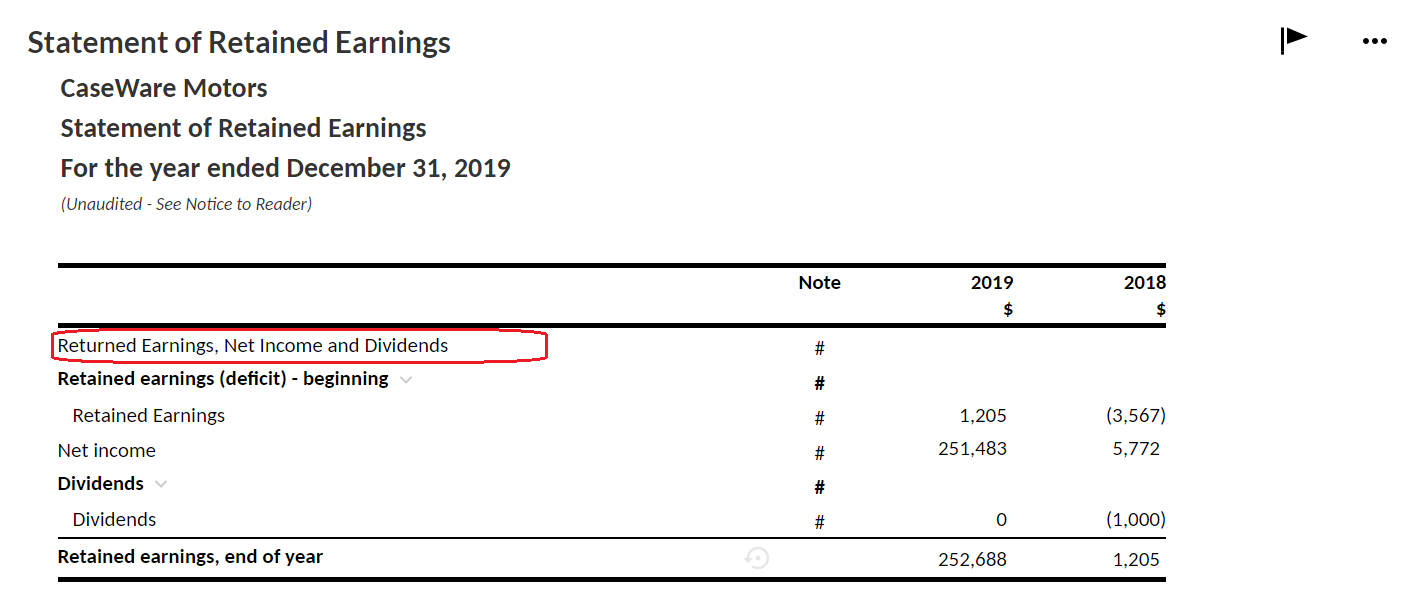
A custom group row is added in the table with a default title Title. You can change the default title.
A total row is also added in the table with a default title Total. You can change the default title.
Add a custom group row
Adding a custom group row adds a text field row. You can use it enter a title or a brief description row in the table.
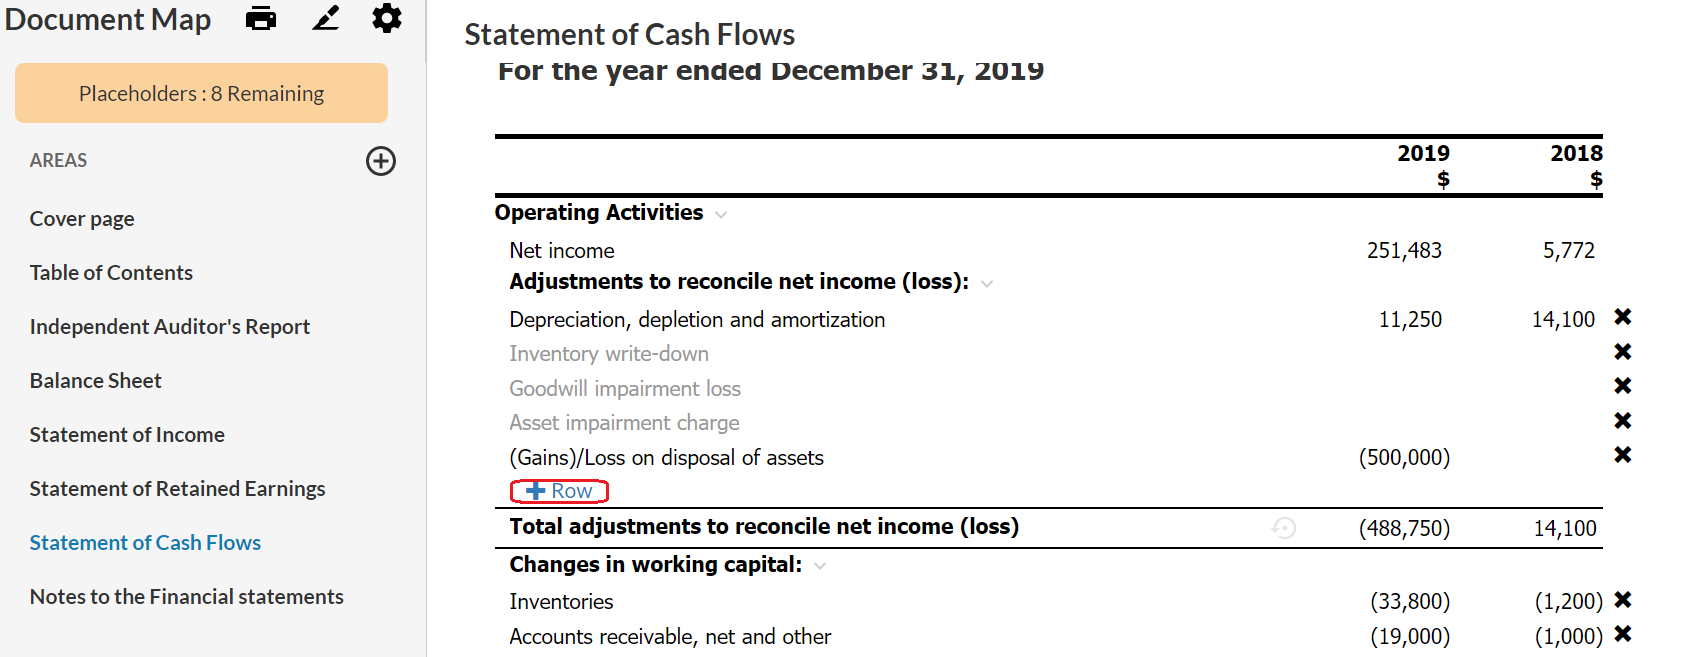
You can also use it to include the ( ) button in the table. The +Row button allows staff to directly add rows to the custom group without having to switch to the table edit mode.
This is helpful in cases where you cannot predefine the number of rows needed. For example, if each staff member needs to add their labor costs in a table or to include extra rows in the statement of cash flows.
To enable adding input rows directly to a custom group:
-
Select the table.
-
Select More actions (
) | Edit Dynamic Table. -
Locate where you want to allow staff to add input rows, then select the Add (
 ) | Custom group at the left border of the table.
 -
Select the new custom group.
-
Select Enable Input Rows (
 ).
). -
Select SAVE & CLOSE.
Icons for table options display on the right.
The table opens in edit mode.
Note: Adding a custom group marks the place in the table where you want to allow users to add input rows outside edit mode.
A new group row is added in the table with a default title Title. You can select the default title to change it.
If you don't want the group row or the total row to show on the table, select the row then select the eye icon (![]() ) to hide it. In this case, it's recommended to also select Settings (
) to hide it. In this case, it's recommended to also select Settings ( ) | Show hidden items to keep track of all existing rows in the table as you're working on it.
The Enable Input Rows icon () displays on the top left corner.
To remove the () button, select the group you added in Step 3, then select ( ).
).