Upload files to an entity
You can add files and documents to Cloud so that the relevant material for your engagement is stored in one accessible location. Relevant material can be files that might include copies of correspondence with the client or documents related to engagement work.
If you manage your tax work in TaxPrep, you can also upload your TaxPrep files to Cloud in order to track and assign work on these files as you would with any other file type.
The procedure for adding a TaxPrep file is the same as adding any other file. After the file is uploaded, Cloud will automatically create an Other Engagement and store the TaxPrep file there.
Before you start, ensure you have the Editor role or the equivalent privileges. To learn more, see Built-in roles.
To upload a file:
-
From the Cloud menu (
 ), select Files.
 -
Select the appropriate entity from the entity drop-down.

-
Select New, and then choose Upload. The File Upload dialog displays.
-
Select the Select Files button or drag and drop the file.
-
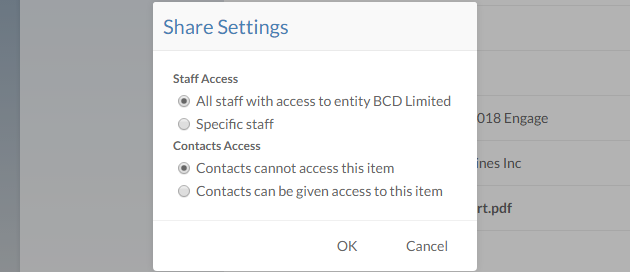
In the Share Settings dialog, choose sharing options for the file and select OK.