Add an account or a group in the Data page
In the Data page, you can manually add accounts or groups in the client's trial balance data, if needed. Custom accounts can be added in the Accounts view page or a group view page (Financial Groups, Tax Groups or Prescribed).
Add a group
You can add a custom group in the trial balance data at the Data page.
Note: You can only add custom groups in the FINANCIAL GROUPS group view.
To add a group:
-
Select the FINANCIAL GROUPS view.
-
Select Add (
 ) | Add group.
 -
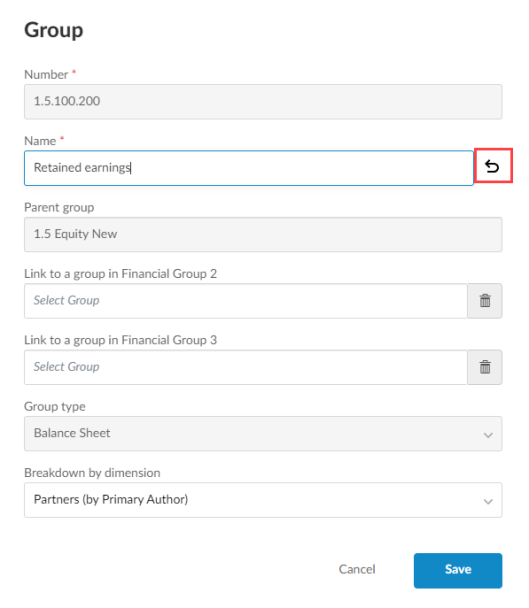
At the Group dialog:
-
Enter a group number at Number.
-
Enter a group name at Name.
-
Select the parent group from the existing trial balance groups at Parent Group.
-
Select applicable dimension categories from the Breakdown by dimension drop-down.
Note: Dimensions are only available if they have been enabled in your product.
-
Select Save.
The new group is added to the trial balance listed under the selected parent group. You can now assign accounts to it.
To modify the group name and its parent group, select the Edit icon (![]() ) to launch the Group dialog. In the Group dialog, you can also delete a group be selecting Delete.
) to launch the Group dialog. In the Group dialog, you can also delete a group be selecting Delete.
Add an account
At the Data page, you can add a custom account in the trial balance data in the Accounts view or any of the group views.
To add an account:
-
Select Accounts tab.
-
Select Add (
) | Add account. -
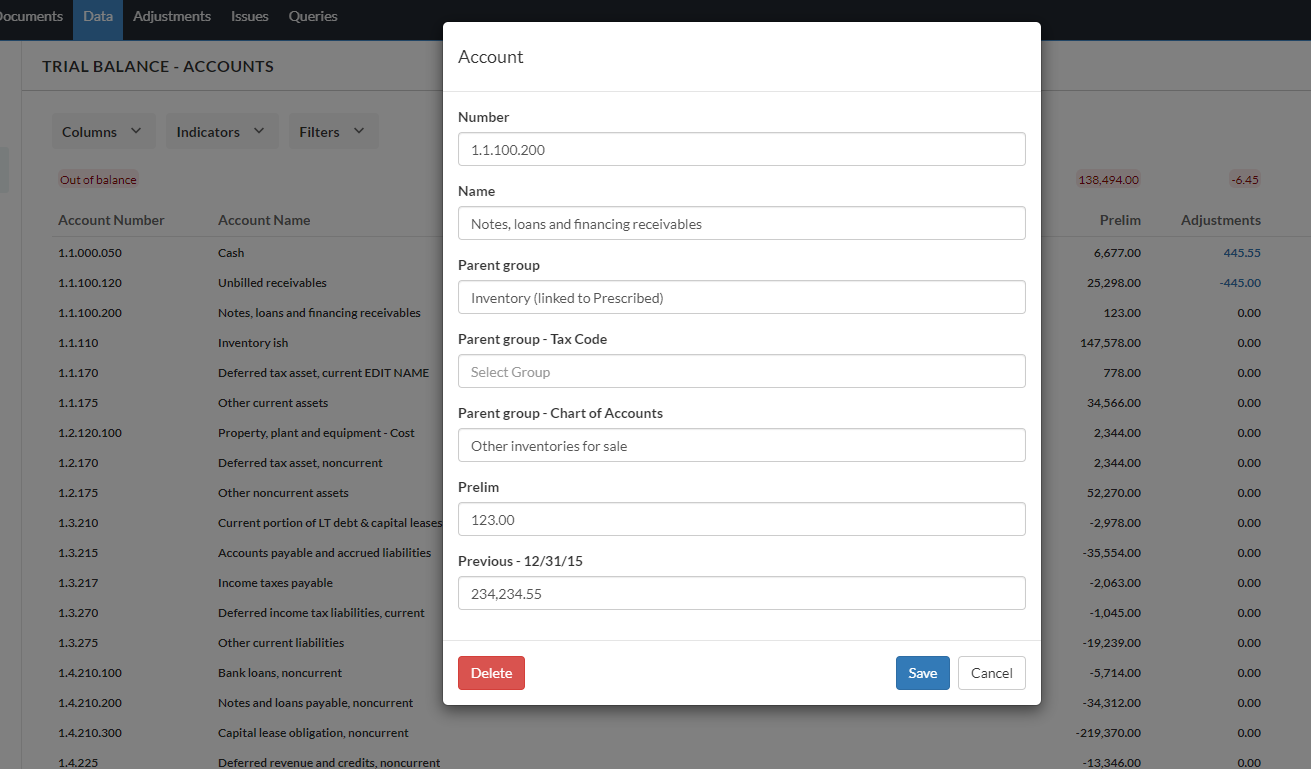
At the Account dialog:
-
Enter the account number at Number.
-
Enter the account name at Name.
-
Select the Parent group drop-down to assign the account to a Financial group.
Based on your product setup, extra parent group drop-downs can be available. For example, Parent group - Tax Code, Parent group - Chart of Accounts and Parent group - GIFI.
Note: If you assign an account to a group that's linked to another group, it's automatically assigned to the linked group as well.
If the group has dimension categories assigned to it, you can also assign the applicable dimension to the account for each category.
Note: Dimensions are only available if they have been enabled in your product.
-
Enter the current year balance at Prelim.
-
Enter the prior year balance at Previous.
-
Select Save.
You can also select FINANCIAL GROUPS to add an account in the Financial grouping.
Note: You can also select TAX GROUPS and PRESCRIBED GROUPS, if they're enabled in your product.
To modify account information, select the Edit icon (![]() ) to launch the Account dialog. You can also delete an account be selecting Delete.
) to launch the Account dialog. You can also delete an account be selecting Delete.
Edit a group name
In addition to creating and modifying groups you have created, you can also edit the name of pre-existing groups in the financial grouping structure from the Data page.
To edit a group name:
-
On the Data page, select the Financial Groups view.
-
Navigate to the group you want to edit and select the Edit icon (
 ) to launch the Group dialog.
 -
Modify the name in the Name field.
-
Select Save.
If you want to revert your changes and restore the original group name, you can select Revert (![]() ) next to the Name field.
) next to the Name field.