Import aus QuickBooks Desktop

Content in this topic requires Caseware ReviewComp.
You can import data from QuickBooks desktop by exporting it as a .cwq file, then importing the file to your engagement.
Note: Accounts with zero balances are not automatically imported. If you want to include zero-balance accounts, you must manually add them and assign them to the designated groups.
Before you start, make sure that:
-
Microsoft .NET Framework 4.0 is installed on your workstation.
-
The QuickBooks Export Utility is installed on your workstation.
You can download it from MyCaseware on the Support Files page.
Schritt 1: Export data from QuickBooks desktop
To export data from QuickBooks Desktop:
-
Open your QuickBooks desktop account, then open the company file that you want to import.
-
Open the QuickBooks Export Utility.
-
In the QuickBooks Version drop-down, select QuickBooks 2008-2020 Canada.
-
In the Export Path field, select Browse….
-
Navigate to the where you want to create the export file, then select OK.
The Browse For Folder dialog opens.
-
Select Specify last transaction date and enter the applicable date.
-
In the Accounting method drop-down, select the applicable accrual method.
-
-
Select Export.
The accounting data from the QuickBooks Desktop file is exported to a .cwq file format in the specified location.
Schritt 2: Import the exported data to your engagement
To import the exported data to your engagement:
-
Download the Caseware Cloud Import Utility.
-
Open the Utility, select Other Data Source and select Next.
-
In the ImportFrom drop down, select QuickBooks.
-
In the Version drop-down, select QuickBooks 2019 Canada/UK/AUS.
-
At Import Path, browse and select the .cwq file.
-
Specify the desired settings for the import (Fiscal Year End, Period Date Sequence).
-
Select Next, then Finish.
-
Save the generated zip file using the displayed prompt.
-
In your engagement file, go to the Data page. The Data page open son the Datasets tab.
-
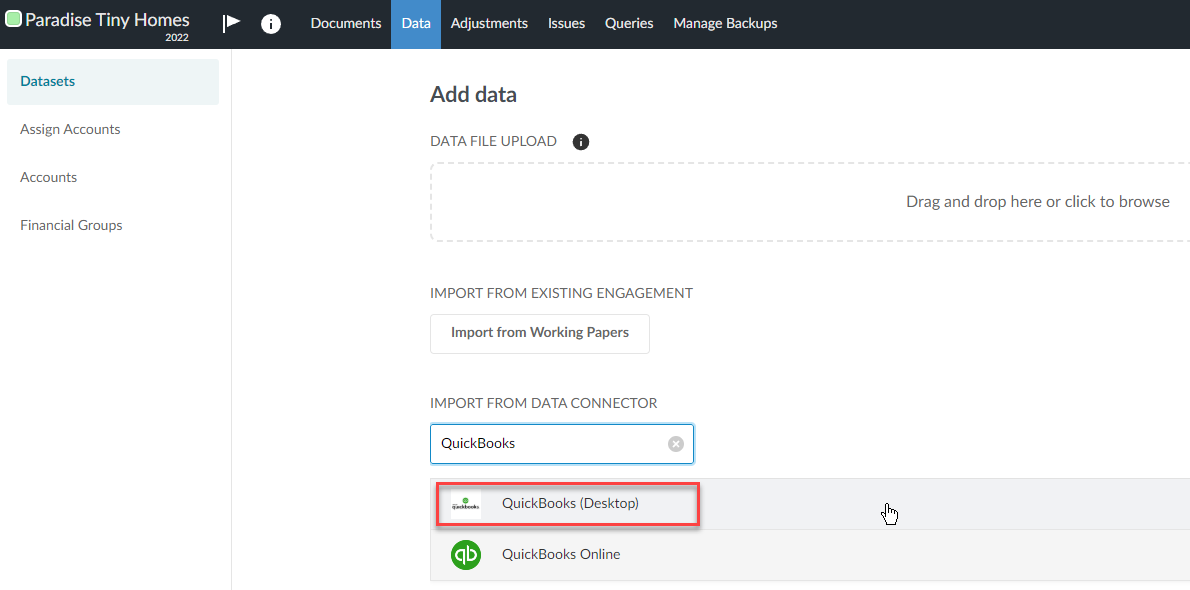
Under IMPORT FROM DATA CONNECTOR, select QuickBooks Desktop from the list of data sources, then select Next.
If the option is not visible, you can use the Search box to find it.
Caseware Cloud Import Utility(.exe)
-
Select or drag-drop the zip file you saved in Step 8.
To view the imported data, click View data next to the dataset you imported.
A new page appears displaying the data.
By default, all the columns in your dataset display. Click Columns to deselect those you want to hide.
Click Filters to filter the data displayed in the dataset.
For more information, refer to View the client's general and subledger data.