View the overall engagement status
You can use Caseware Cloud to obtain a comprehensive view of all your engagements in one centralized location to quickly spot any trends or problems. Depending on your organizational needs, Caseware Cloud provides a variety of ways to present this data:
View your data from a dashboard
Dashboards in Caseware Cloud can be used to help visualize information and provide you an overall picture of how well your engagements are performing.
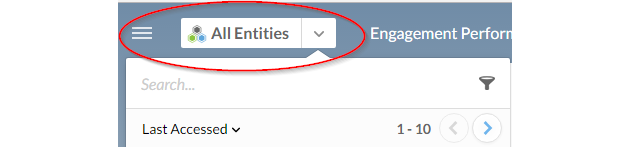
You can also drill down the data to display entity specific data by selecting the entity in the Entity Selector.
Create a dashboard
You can build your dashboard to suit your needs with a collection of built-in gadgets depending on which apps are enabled.
To create a dashboard:
-
From the Cloud menu, select Dashboards(
 ).
). -
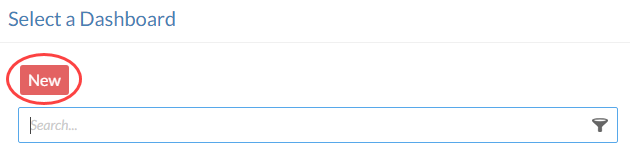
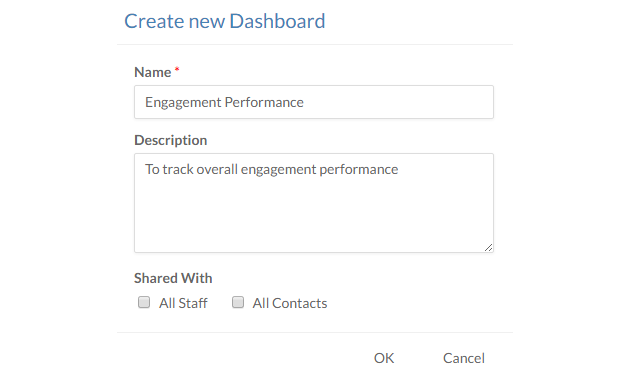
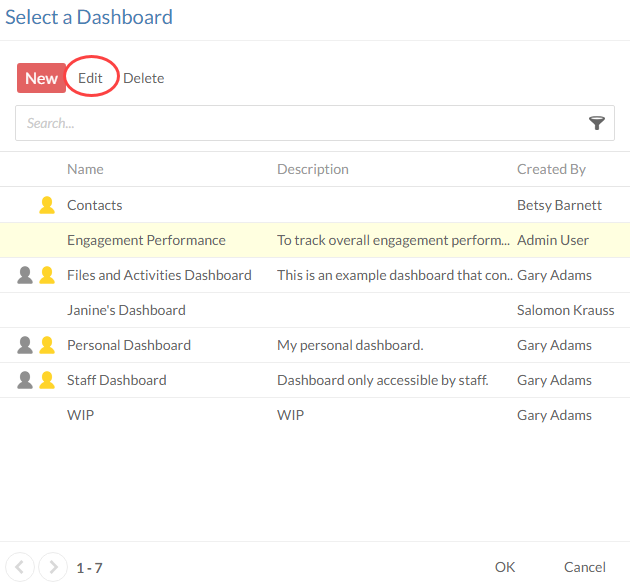
In the Select a Dashboard dialog, select New.
-
Name your dashboard, enter an optional description and select OK.
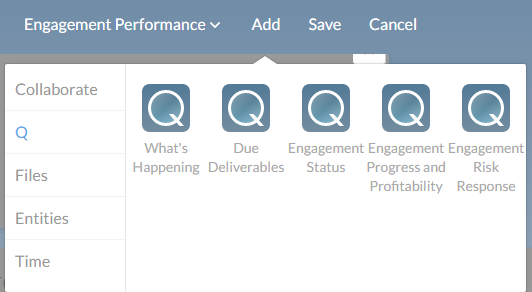
Add gadgets
After you create your private dashboard, you are put into customization mode where you can add gadgets to the dashboard to suit your needs.
To add gadgets to a dashboard:
-
Ensure you have the Editor role or equivalent.
-
From the Cloud menu, select Dashboards (
). - Select the dashboard you want to add gadgets to.
-
If no gadgets are in the dashboard, the dashboard will open with the Add gadgets drop-down collapsed.
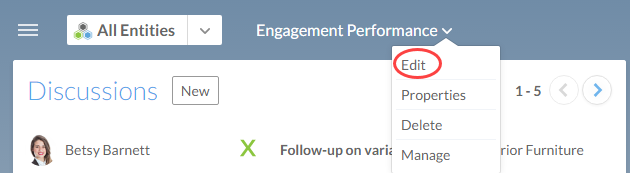
If you are adding gadgets to an existing dashboard, then you will need to select the Dashboard drop-down and select Edit to enter editing mode.
-
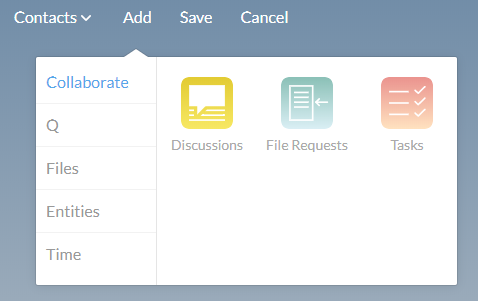
Select from the collection of built-in gadgets depending on which apps are enabled. For a list of all available gadgets, see Dashboard Gadgets.
Note: You can only add one gadget type to a dashboard.
Customize the look of gadgets
After adding your gadgets to the dashboard, you can customize the view of gadgets in a dashboard. The following options are available:
- Rearrange gadgets by dragging and dropping the gadget to a new location. Gadgets are auto-fit to a predefined grid and cannot be moved on top of other gadgets.
-
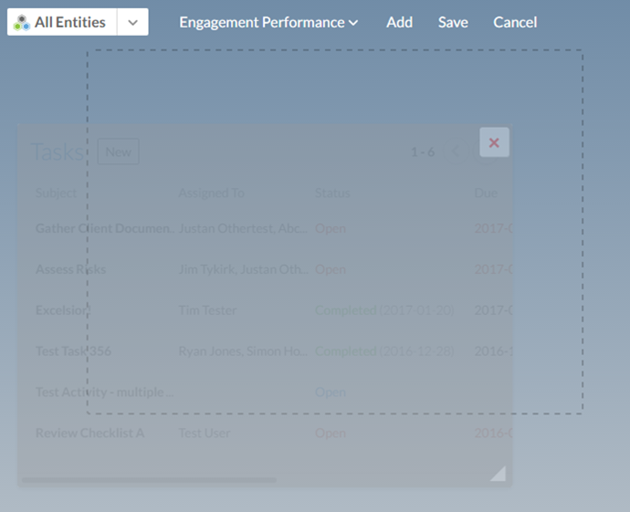
Resize gadgets by clicking the Resize button and dragging to increase or decrease the right and bottom border of the gadget.
-
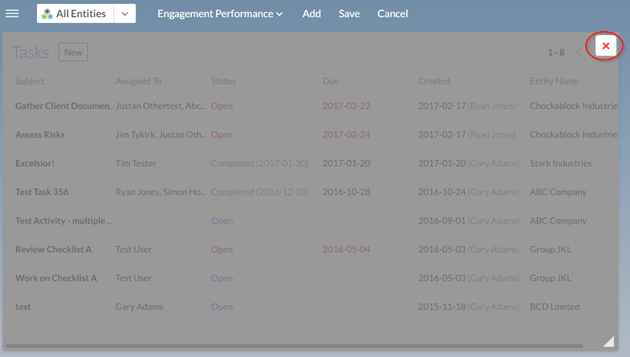
Delete gadgets by clicking Remove button in the gadget header.
Filter file gadgets
File gadgets can be filtered further to display files based on a view or selected filters. For example, you may want to show all files that require a second review to assess overall engagement performance.
To filter file gadgets:
-
Ensure you have the Editor role or equivalent.
-
From the Cloud menu, select Dashboards (
). -
Select the applicable dashboard and enter editing mode by selecting Edit in the Dashboard drop-down.
-
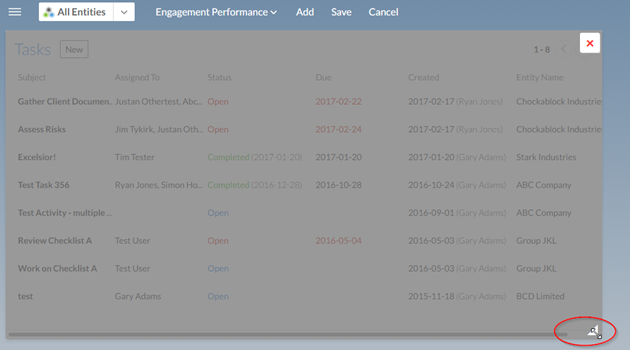
On a File Gadget, select the gear(
 ) in the gadget header to open available filter options.
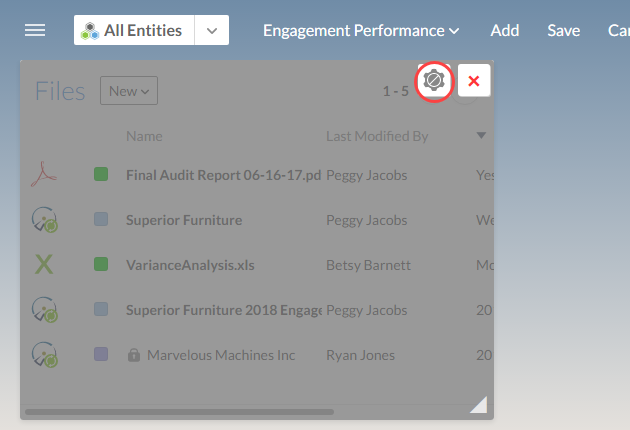
-
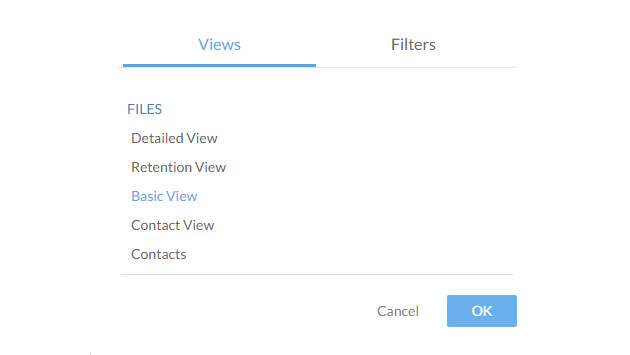
Select the Views tab to select to filter based on a view or select the Filters tab to add multiple filters.
-
Select OK.
Share the dashboard with others
Once you configured your dashboard, you can share it with staff and contacts.
To share a dashboard:
-
Ensure you have the Editor role or equivalent.
-
From the Cloud menu, select Dashboards (
). -
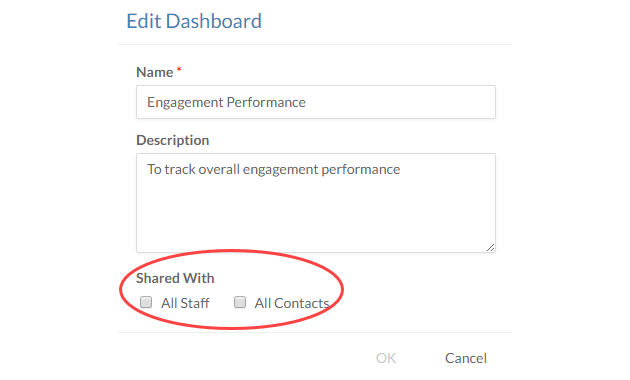
Select the applicable dashboard in the Select a Dashboard dialog and select Edit.
-
Select to share with All Staff and All Contacts.
-
Select OK.
Using the Timeline
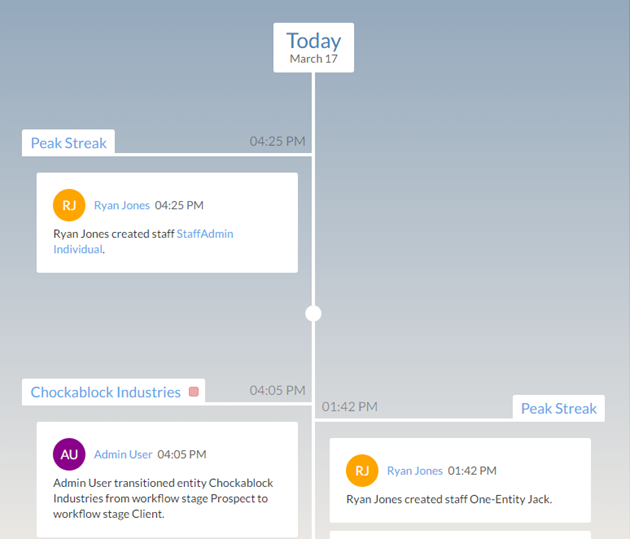
Timeline presents a new way to view and keep track of all the activity in your organization on one screen. The Timeline displays a detailed view of all activities and comments that are being made to your entities and at what time and on what day they are processed.
You can filter list by entities by selecting the applicable entity using the Entity Selector.
The Timeline is updated when a new activity is posted. If you are behind, a prompt will appear asking you to refresh.

Using Caseware Q

Content in this section requires Caseware Audit.
If you would like an out of the box solution that provides you predefined views and additional widgets to obtain key data for engagements for the organization to monitor various metrics across the organization's entire client base then Caseware Q is your solution. With Caseware Q, you can focus on improving your audit quality, which in turn will improve your audit process and your organization's quality.
Caseware Q is a free add-on in all of our supported Caseware Audit Template. If you are considering of using this out-of box solution and have not picked up the Audit International Template. Contact our sales team for more information.
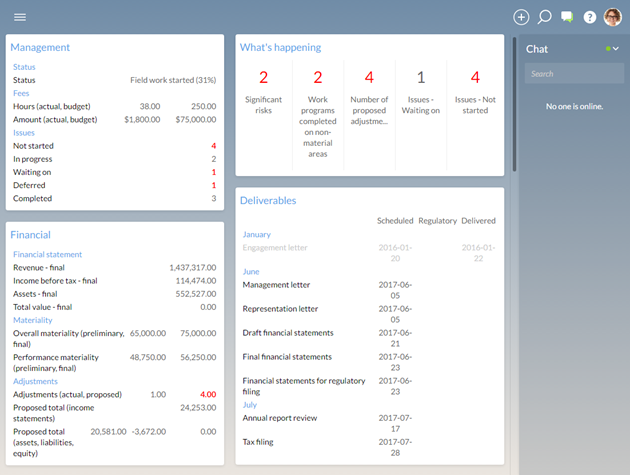
Landing Page
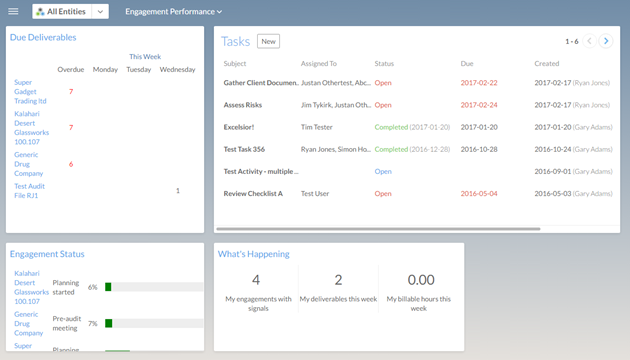
Once you have Caseware Q setup, you can use Q to visualize the overall engagement status by accessing Caseware Q landing page.
The Caseware Q landing page has three different sections:
What's Happening - Provides you an overall summary of how many files have Caseware Q setup, any due deliverables that are due this week and the billable hours this week.

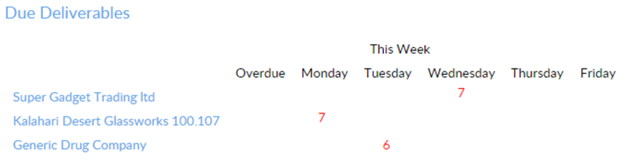
Due Deliverables - Shows you how many due deliverables are due this week. These deliverables are set in the Audit template using the Caseware Q document.
Engagement Status - The completion rate is based on the percentage weight for each document completed and reviewed in the Audit template.

Engagement file details
With Q-enabled files, you get a more comprehensive view of your engagement file where you can obtain important metrics to ensure you are providing efficient and effective engagements.
To access these details, select an engagement from the Q landing page.
Dashboard widgets
Caseware Q contains a variety of built-in widgets from tracking all your engagement status to tracking engagement progress and profitability.
Caseware Q views
You can use out of the box views with Caseware Q to provide you the necessary columns in the Files, Entities, Staff and Contacts apps that are pertinent to you. Q has organized views into:
- Overview View
- Management View
- Financials View
- Risk Assessment View
- Engagement Information View
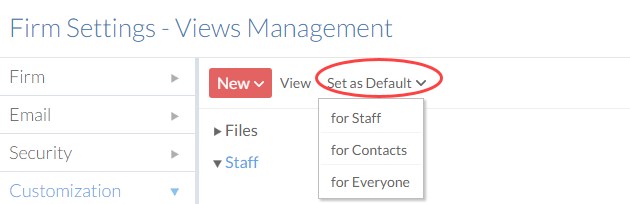
Caseware Q views columns cannot be customized but you can select the default view that appears for staff, contacts or everyone.
To change the default view:
-
Ensure you have the Admin role.
-
From the Cloud menu, select Settings.
-
Select Customization | Views Management.
-
Select the view you want to set as default
-
Select the Set as Default and select the appropriate group.