Insert data using the Cloud Connector pane
Note: Your firm administrator must purchase and enable Caseware Cloud Connector for your account.
You can use the right pane to retrieve and insert data from the engagement into the excel file.
Note that your starting point is always the Documents page:
-
Go to the Documents page.
-
Open the excel file.
-
Select the Datalink icon from the ribbon.
A pane opens on the right side showing two data source links: Trial Balance and Properties.
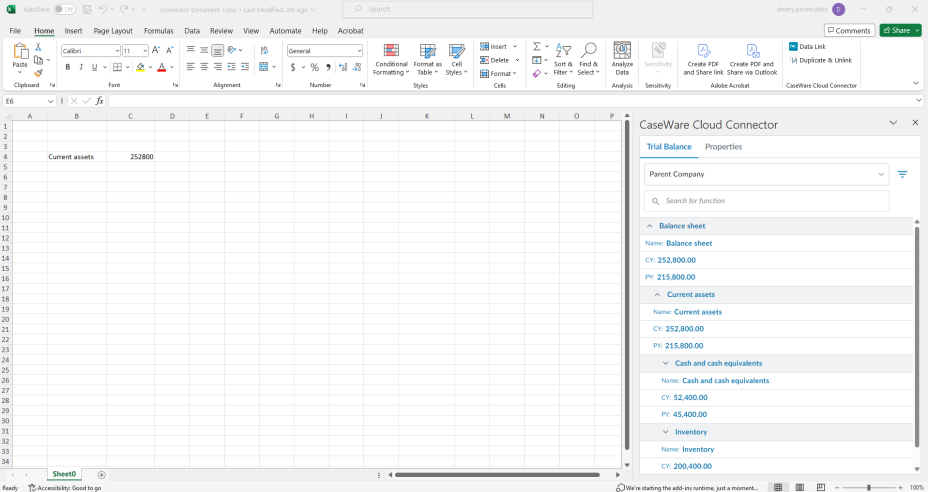
To insert trial balance data:
-
Select the cell where you want to insert trial balance group data.
-
Go to the right pane and locate the desired group. Use the down arrows (
 ) to expand parent groups if needed.
Tip: You can also use the search field at the top. You can search by group name or group number.
-
Use the filters (
 ) to select which columns you want to add for the group and its subgroups. For example, if you want to insert the group number, name, the current year balance and the prior year balance, select the filters for those columns.
If you want to include zero balance accounts, select the Insert zero-balance items filter.
If your engagement is consolidated, you can select an entity in the consolidation data to display data for that entity. You can also use the Consolidated filter to select whether to insert consolidated or non-consolidated data.
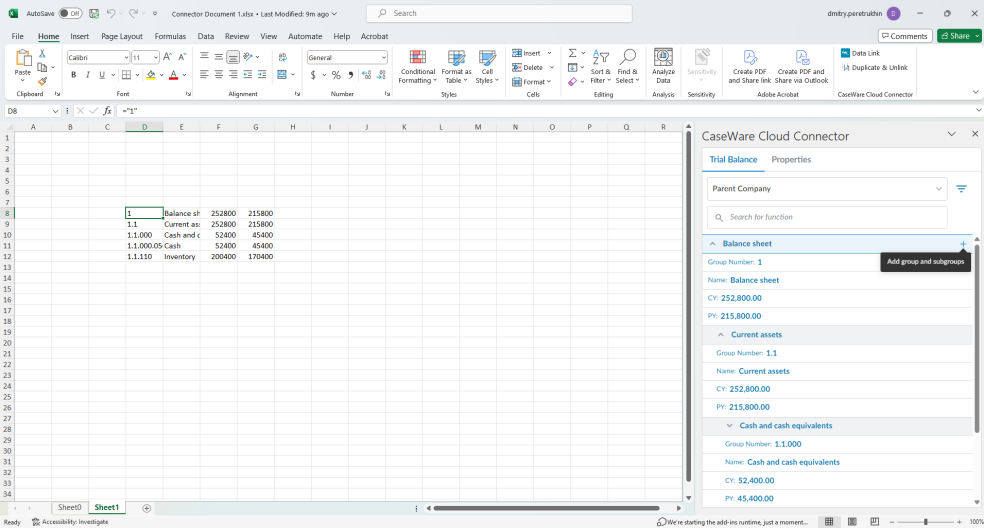
-
Select the Add groups and subgroups icon (
 ) next to the group.
The group you selected and all its subgroups are inserted in the file.
To insert an engagement property:
-
Select the cell where you want to insert an engagement property.
-
Go to the right pane and select the Properties tab.
-
Locate the engagement property that you want to insert.
-
Select the Insert Property Link icon (
).
Tip: You can also use the search field at the top.
The information is fetched from the engagement and inserted in the cell.
To insert a firm property:
-
Select the cell where you want to insert an engagement property.
-
Go to the right pane and select the Properties tab.
-
Scroll down to the Firm Properties section.
-
Select the Insert Property Link icon (
) to insert the Firm name or the Firm address.
The information is fetched from the engagement and inserted in the cell.
Tips:
You can use operators with Cloud Connector formulas to perform calculations.
#BUSY! means that it's taking a few moments to load the data into the cell.
#VALUE! means that the data cannot be found. For example, if the firm address has not been entered, #VALUE! displays in the cell.
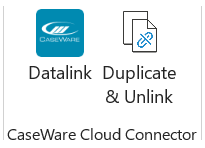
Note: Do not forget to save your excel file once you're done. If you want to share a copy of the current excel file and do not want the data to update as the engagement file is updated, you can use the Duplicate & Unlink option. This will create a copy of the spreadsheets that does not include formulas which you can use to backup information or send it to clients. Note that protected sheets cannot be duplicated.
To insert balance types
You can link balance types from Cloud Engagements into your Excel document. Previously, the only link options were the Current Year Closing Balance and the Prior Year Closing balance. The additional balance types simplify balance verification and analytical reviews, enabling more flexible and meaningful analysis within Cloud Engagements.
List of balance types for both current year and prior year 1:
-
Planning
-
Prelim (Prelimary)
-
Adjustments
-
Eliminating
-
Final
Feature highlights
-
All new drop-down menu options are fully keyboard accessible.
-
Use the expand/collapse all feature for groups and accounts to improve navigation.
Notes:
-
Interim Planning, PY2, PY3, and PY4 do not support adjustments or preliminary balances.
-
Parent balances cannot be added.
-
Only the specified balance types are supported.

Duplicate & Unlink feature
The Duplicate & Unlink feature allows users to easily share files with clients and contacts by unlinking documents that have been pre-populated by Cloud Connector.
-
Select the area in the MS Excel sheet that you want to copy, then click Duplicate & Unlink.
This will automatically unlink the selected sheet and create a duplicate with unlinked values. You can copy the duplicate to whichever app (e.g. Word) you want to use to create reports for your clients.