Set up client billing

Content in this topic requires CasewareCloud Time.
Cloud makes client billing quick and efficient. You can avoid repetitive work by creating invoice templates that match your organization's standards, and collect time and expense data directly through Cloud to populate your newly created invoices.
Change the default appearance of invoices
Begin by updating the default appearance of invoices.
Editing invoice defaults
Invoice defaults determine the basic appearance of all invoices generated with Cloud. Edit invoice defaults to customize the default numbering, padding symbol, and logo to fit the needs of your organization. You can edit invoice defaults in Settings by selecting Time | Defaults.
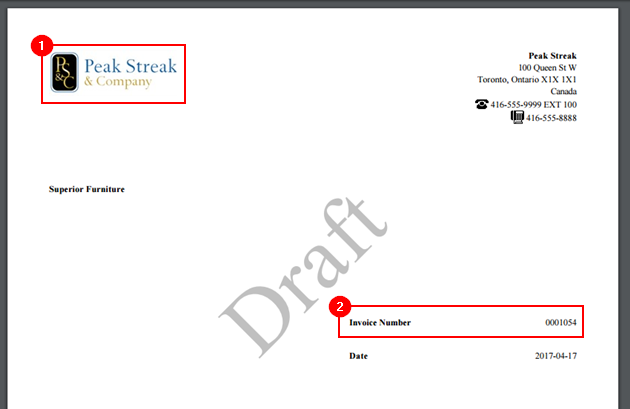
For example, in the image below you can see an invoice with a customized logo (1) and invoice number. Since the padding symbol was set to 0, and invoice number length set to seven, the invoice number in this example becomes 0001054 (2).
Create invoice templates
After establishing invoice defaults, you can create invoice templates for regular clients or tasks. If your organization works with the same company on annual basis, you could create an invoice template specific to that company's needs. You could also create a general template for nonprofits if you organization works in that area.
To create an invoice template:
-
Ensure you have the Settings Admin role or equivalent privileges.
-
From the Cloud menu, select Settings.
-
Select Time and then, in the Invoice section, select Templates.

-
Select New.
-
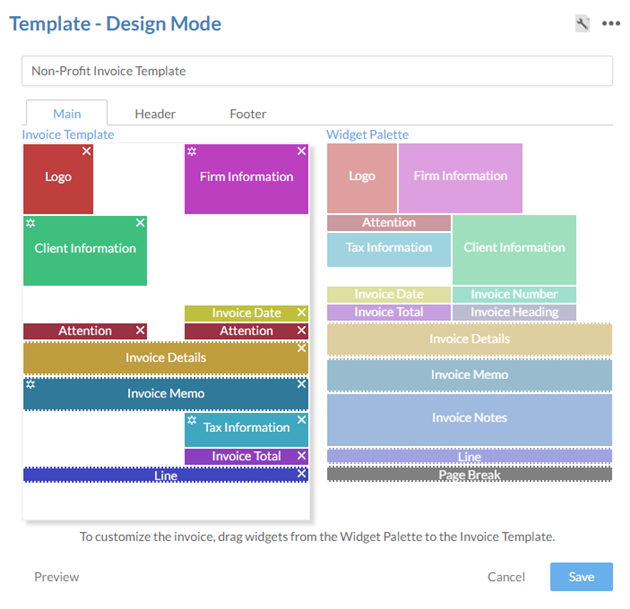
Drag widgets from the Widget Palette to the Invoice Template on the Main, Header, and Footer tabs as required.
-
Configure widgets on the Invoice Palette by selecting their Settings icon (
 ).
). -
Modify the template's appearance by selecting Page Setup(
 ).
).
-
-
Select Save.
Add custom billing codes
Now that you've established the basic form of your invoices, you'll want to set up your organization's billing codes. While Cloud has several billing codes included by default, you may wish to add more to match the work done by your organization. For example, you might add the code AUD for audit services or CST for consulting work.
To add a billing code:
-
Ensure you have the Settings Admin role or equivalent privileges.
-
From the Cloud menu, select Settings.
-
Select Time and then, in the Invoice section, select Billing Codes.

-
Select New.
-
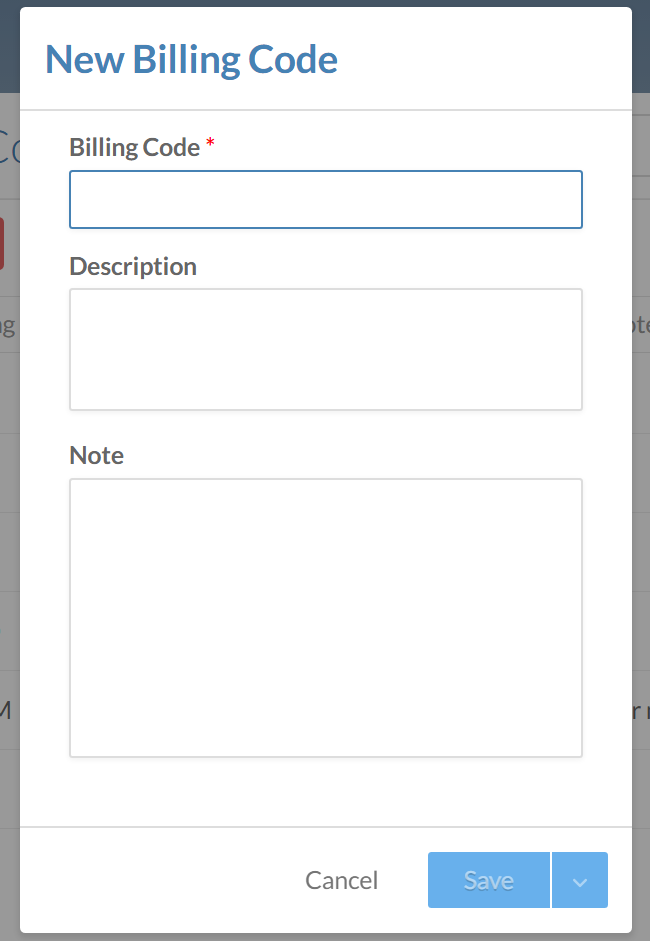
Complete the fields as appropriate. The Billing Code field is required.
Note: The list of billing codes may not sort correctly if it contains alphanumeric codes with inconsistent lengths (e.g. 1 ABC, 23 DEF, 456 GHI). To correct this, pad each number with zeroes to ensure a consistent length (e.g. 001 ABC, 023 DEF, 456 GHI) or use numeric codes.
-
Select Save to add the new billing code.
Ensuring staff members submit time entries
Your invoices depend on prompt and accurate time and expense entries from your organization's staff. To make sure that you receive this information in a timely manner, you can set up automatic email notifications. These emails can remind staff to complete their timesheets, or to finalize their pending entries.
To configure weekly email notifications for time entries:
-
Ensure you have the Settings Admin role, and that the intended recipients have the Process own entries permission and the View own entries permission.
-
From the Cloud menu, select Settings.
-
From the Time drop-down menu, select either:
-
Short Hours - remind staff to complete their timesheet from the previous week.
-
Time Pending entries - remind staff to review any pending entries from the previous week that have not yet been accepted.
-
-
Select Send a weekly email notification every and designate the date and time the notification will be delivered.
-
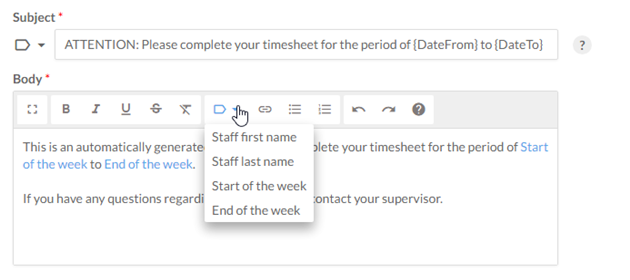
Enter a customized email Subject and Body. You can add tags to make content dynamic and personalized. You can add the following tags:
- Staff first name
- Staff last name
- Start of the week
- End of the week
-
Select Save.