Publish a visualization
Once you finalize an analysis, publish it to a visualization to share with other staff members and clients. Note that they can only view the visualization — they cannot modify it.
Let op:Purchased visualizations will display in the Dashboards tab if a license has been assigned to a Sherlock Builder user, but they cannot be modified or shared.
To publish a visualization:
-
Select the Analyses tab.
A list of existing analyses displays.
-
Select the analysis that you want to publish to a visualization.
-
Select Share (
 ) | Publish dashboard.
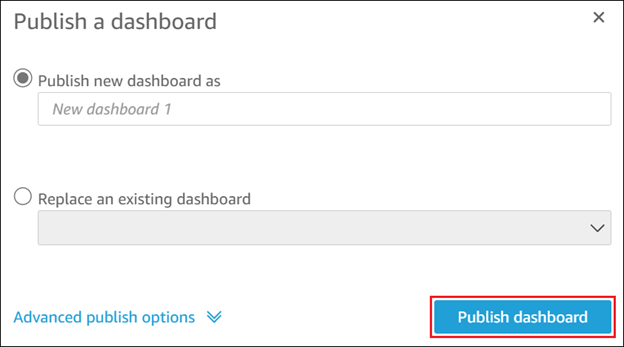
- In the Publish a dashboard dialog, select:
Publish new dashboard as to create a new visualization. Enter a title for the new visualization in the field.
Replace an existing dashboard to overwrite a visualization while maintaining existing share settings. Select the visualization to replace from the drop-down menu.
-
If required, apply any additional options from the Advanced publish options expandable menu.
To learn more, see Publishing a Dashboard.
-
Select Publish dashboard.
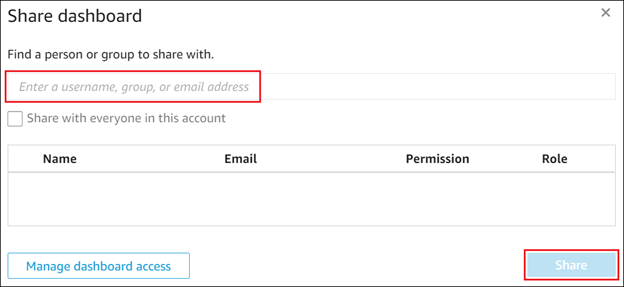
The Share dashboard dialog displays.
-
If you want to collaborate on the visualization with other Sherlock Builder users in your firm, enter each user's email and select Share.
Let op: Do not use the Share with everyone in this account option. It does not function correctly with Sherlock Builder.