Créer une facture définitive

Le contenu de cette rubrique nécessite CasewareCloud Time.
Une fois la mission terminée, vous pouvez créer une facture finale directement à partir de Cloud. L'application Facturation vous permet de télécharger la facture au format PDF ou de l'envoyer directement par courrier électronique.
Créer une facture définitive
-
Assurez-vous que vous avez le rôle de propriétaire de l'entité cliente ou des privilèges équivalents.
-
Dans le menu Cloud, sélectionnez Facturation.
-
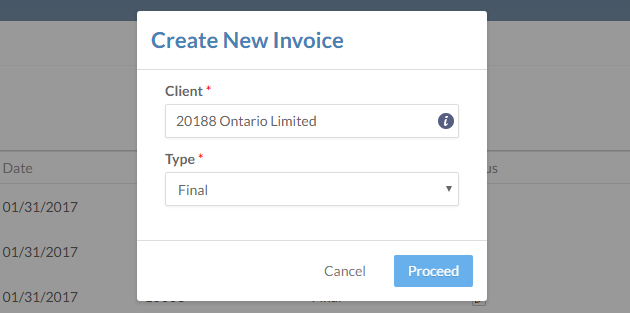
Sélectionnez Nouveau.
-
Saisissez un client dans le champ Client .
-
Dans le menu déroulant Type , choisissez Final.
-
Sélectionnez Continuer.
-
Saisissez les informations appropriées dans les étapes Information, Transactions, Montant, Réintégration/Déintégration, et Grand livre.
Remarque : Veillez à sélectionner la bonne date à l'étape " Informations" . Les saisies de temps postérieures à la date sélectionnée dans cette étape ne sont pas affichées dans l'étape Transactions .
-
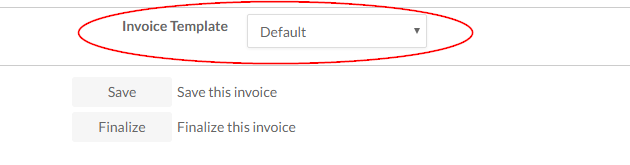
(Facultatif) Choisissez un modèle dans le menu déroulant Modèle de facture.
Pour plus d'informations sur les modèles de facture, voir Créer des modèles de factures .
-
Sélectionnez Finaliser pour créer une copie finalisée de votre facture.
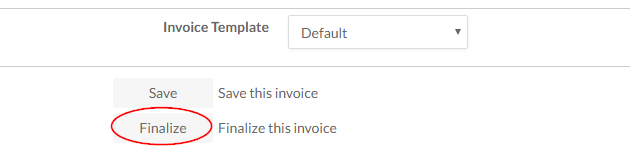
Vous avez créé une facture finale. La facture est affichée dans l'onglet Factures de l'application Facturation .