Envoyer la requête aux contacts
Après avoir revu le contenu de la requête et apporté les modifications nécessaires, vous pouvez envoyer le document aux contacts. Une fois que vous l'avez envoyé, vous êtes automatiquement abonné aux notifications par courrier électronique concernant la requête.
Pour envoyer la requête aux contacts :
-
Ouvrez le document d'interrogation, puis sélectionnez ENVOYER.
-
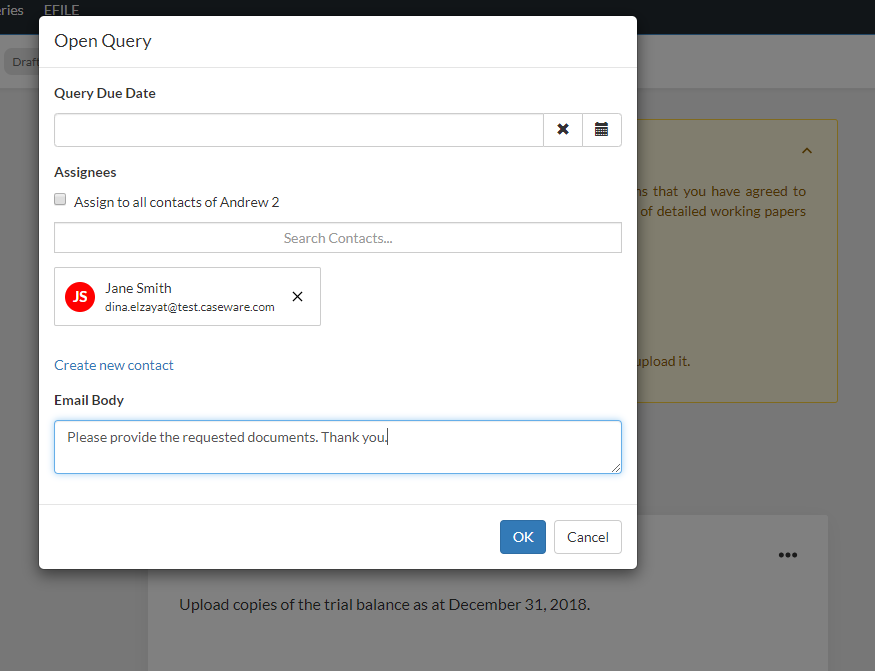
Sélectionnez une date d'échéance pour la réponse du client dans le champ Date d'échéance de la requête.
-
Sélectionnez un contact client dans la liste déroulante Attributaires .
-
Ajoutez un message dans la zone de texte Corps de l'e-mail qui sera inclus dans l'e-mail de notification.
-
Sélectionnez OK pour envoyer la requête.
La boîte de dialogue Ouvrir une requête s'affiche.
Vous pouvez sélectionner plusieurs contacts ou cocher la case Assigner à tous les contacts pour envoyer la demande à tous les contacts du client.
Si un contact n'existe pas dans le nuage, le document de requête fournit un accès direct au nuage afin que vous puissiez créer un contact. Sélectionnez Créer un nouveau contact pour être redirigé vers le nuage et ajouter le contact. Pour en savoir plus, voir Création d'un compte.
Remarquez que le volet de navigation de gauche affiche désormais des options de filtrage pour les questions de la requête afin que vous puissiez facilement localiser et suivre les réponses des clients.
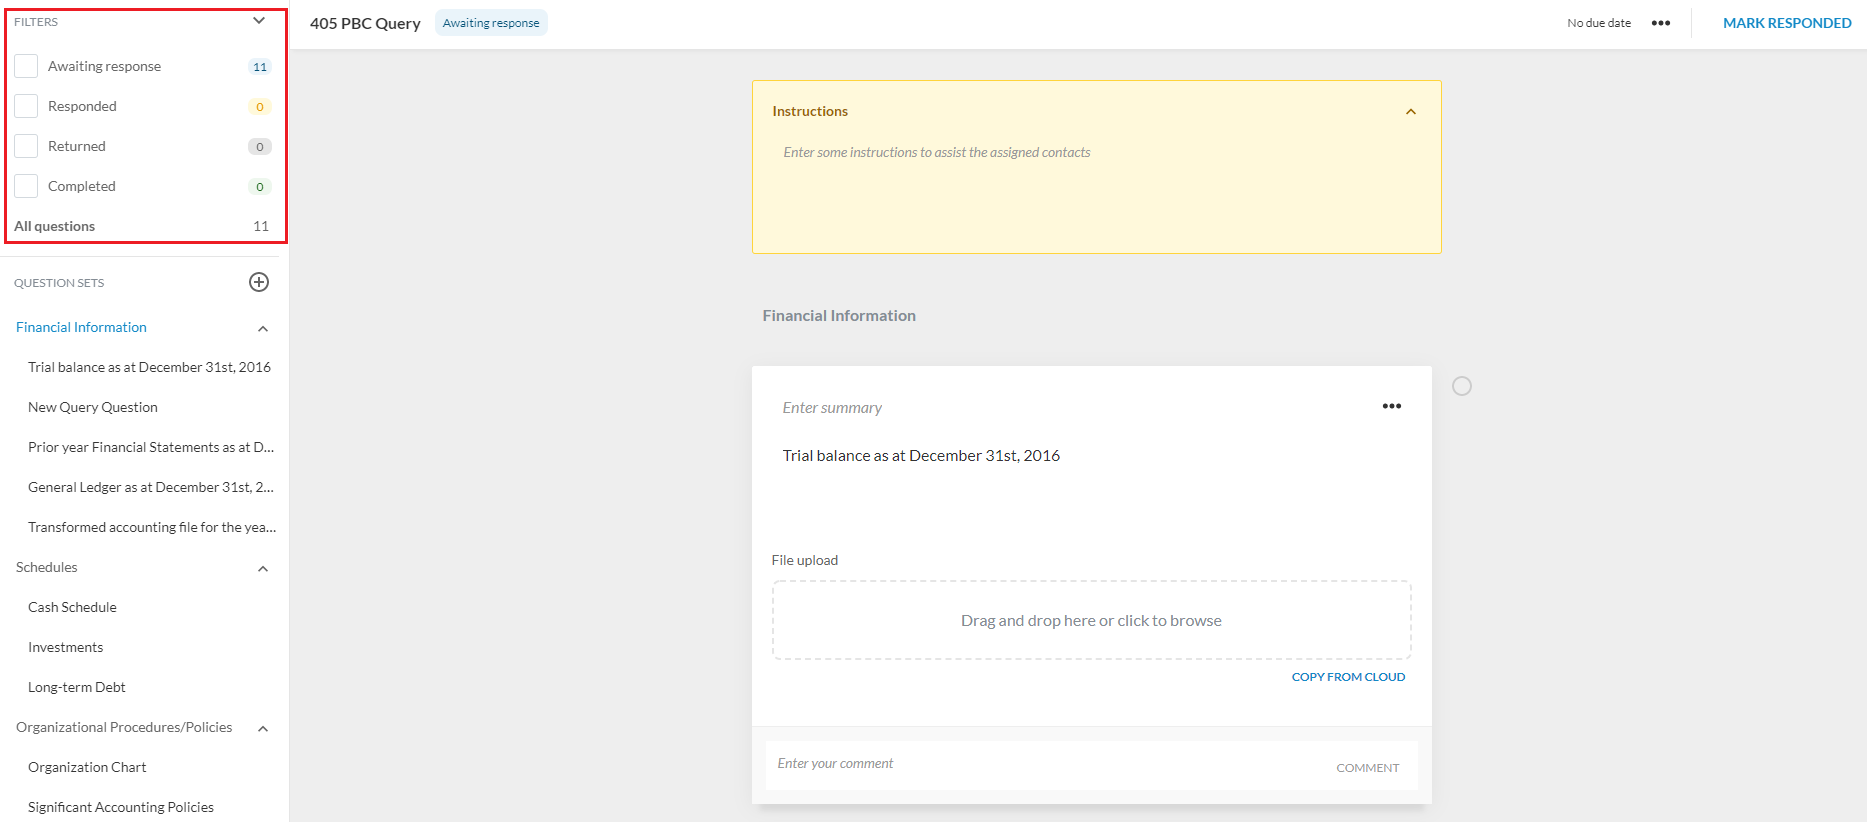
L'historique des questions est également mis à jour dans le champ des commentaires de chaque question afin d'indiquer l'heure et le membre du personnel responsable de l'envoi de la question.
Un courriel de notification est envoyé aux contacts désignés. Une fois que les contacts se sont connectés à Cloud, ils peuvent consulter la requête dans la section Mon travail.
