Manage authorization servers (Okta)
Users of your firm's single sign-on integration will pass through an authentication server. Okta provides a default authentication server that you can modify to your firm's requirements. If required, you can also add authorization servers.
Note: This step is optional and requires a license to the authorization server functionality from Okta. If you do not have access to this functionality, or simply do not need to modify authorization servers, proceed to Generate the Reply URL.
To manage authentication servers:
-
Log in to your firm's Okta dashboard with an Admin account.
-
From the main menu, expand the Security drop-down menu and select API.
-
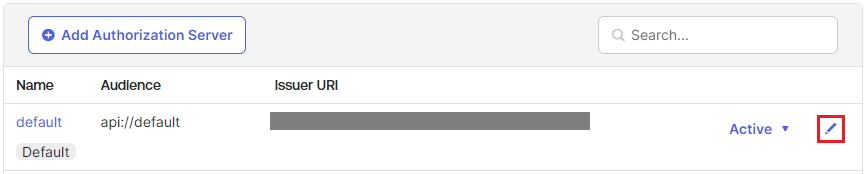
On the API page, select the Authorization Servers tab. On this tab, you can edit or add authentication servers. Next to the default authorization server, select the Edit icon.
-
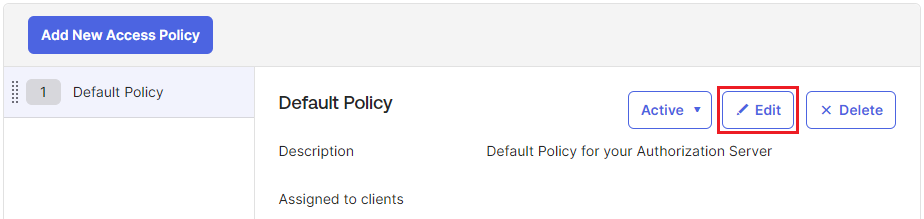
On the default authorization server's page, select the Access Policies tab. On this tab, you can edit or add access policies. Next to the default policy, select Edit.
-
You can optionally edit the name and description for the policy, and choose to assign it to all clients, or specific clients. If you've made any changes, select Update Policy to apply them.
-
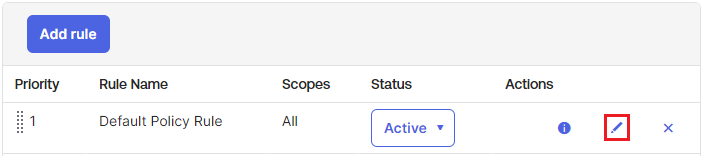
You can also edit or add policy rules. Next to the default policy rule, select the Edit icon.
-
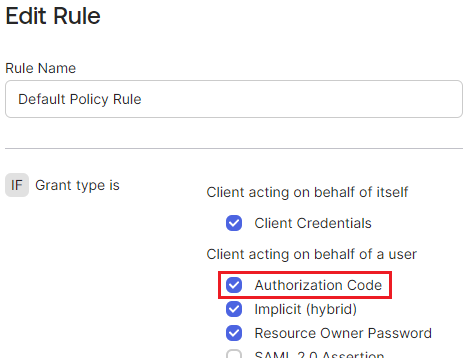
You can optionally edit the rule to your preference. For integration with Caseware Cloud, ensure that the Authorization Code option is selected.
Add authorization servers
If you do not want to use the default authorization server, or simply want to add another authorization server to customize to your firm's requirements, you can add them in the Security drop-down menu.
To add authorization servers:
-
Log in to your firm's Okta dashboard with an Admin account.
-
From the main menu, expand the Security drop-down menu and select API.
-
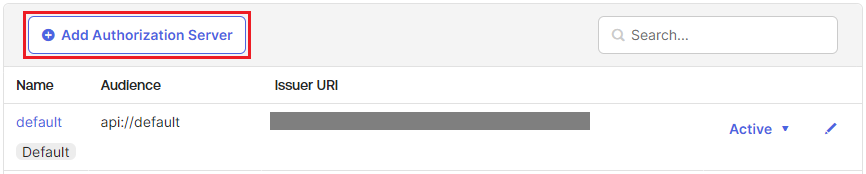
On the API page, select the Authorization Servers tab.
-
Select Add Authorization Server.
-
Enter a name, audience and description for the new authorization server. Select Save.
-
On the authorization server's page, select the Access Policies tab.
-
Select Add Policy.
-
Enter a name and description for the policy, and choose to assign it to all clients, or specific clients. Select Create Policy.
-
On the policy's page, select Add rule.
-
Enter a name for the rule, and customize the rule options as required. For integration with Caseware Cloud, ensure that the Authorization Code option is selected.
-
Select Create rule.
Next: Generate the Reply URL