Add areas
Note: Areas are only available if they have been enabled in your product.
Areas allow you to summarize financial statement groups at a higher level for risk identification and assessment (often at the audit program level). They also allow you to group items together in a different order than the one used in the trial balance grouping structure.
You can add areas in the firm template to meet your firm requirements. Staff members can also add areas in an engagement file. Once you add your areas, you can then assign them to financial groups.
To add an area:
-
On the Risks page, select the ASSESSMENT tab.
-
Select NEW AREA.

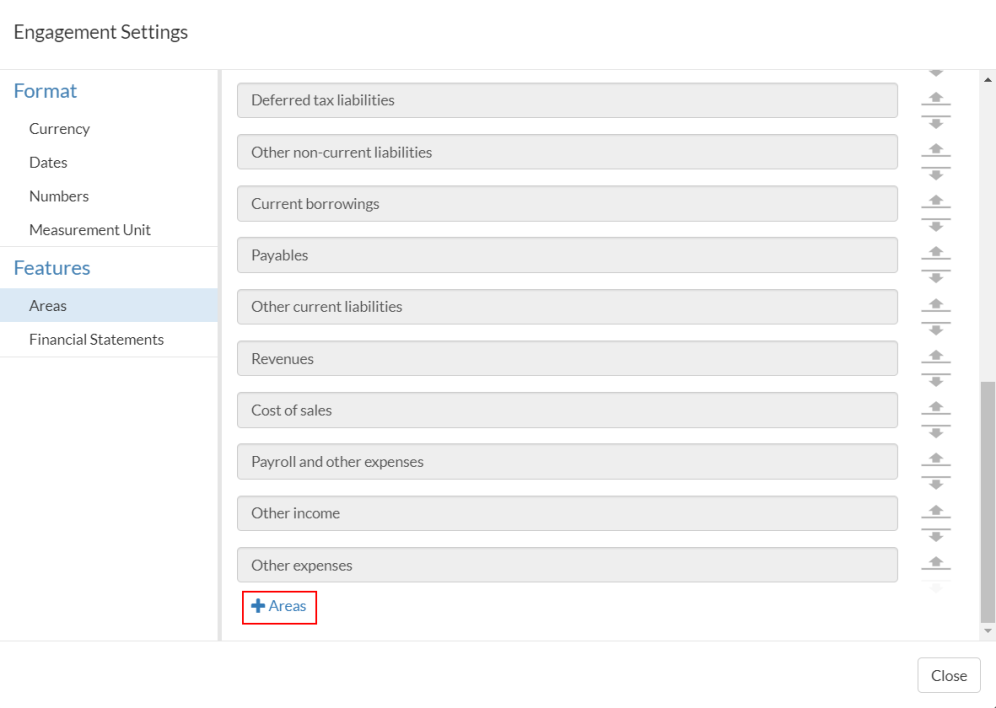
-
Select +Areas to add a new area.
-
Enter the name of your area in the Name field.
You can also modify the name of any area you’ve created.
You can also delete areas you’ve created by selecting the (
 ) icon.
Note that you cannot modify or delete areas that are available by default in your product.
-
When you’re done, select Close.
You can also view and add areas from the New Risk dialog when adding new risks or directly from the Features | Areas tab in the Product Settings. Select the Information icon (![]() ) at the top menu, then choose Settings to open the Product Settings.
) at the top menu, then choose Settings to open the Product Settings.