Assign or reassign jobs
You can assign and reassign staff members to different jobs using Accomplish. This is useful for organizing and splitting work effectively to facilitate firm productivity.
Note that in addition to staff work, queries and file requests sent to contacts outside your firm will also display in Accomplish to allow you to track and organize them.
You can assign a job to staff members either through the Due Date view or in the job card details.
To assign a job through the People view:
-
Select the People view from the top menu.

Unassigned jobs display on the left side in the Unassigned column. Staff members and their currently assigned jobs display on the right.
-
Drag the card you want to assign to the desired staff member or members; you may assign a card to multiple staff members.
Note: You can drag cards from the Unassigned column to a staff member or from one member to another to change who is responsible for a job.
To assign a job in the job details:
-
Select More actions (
 ) on the card.
 -
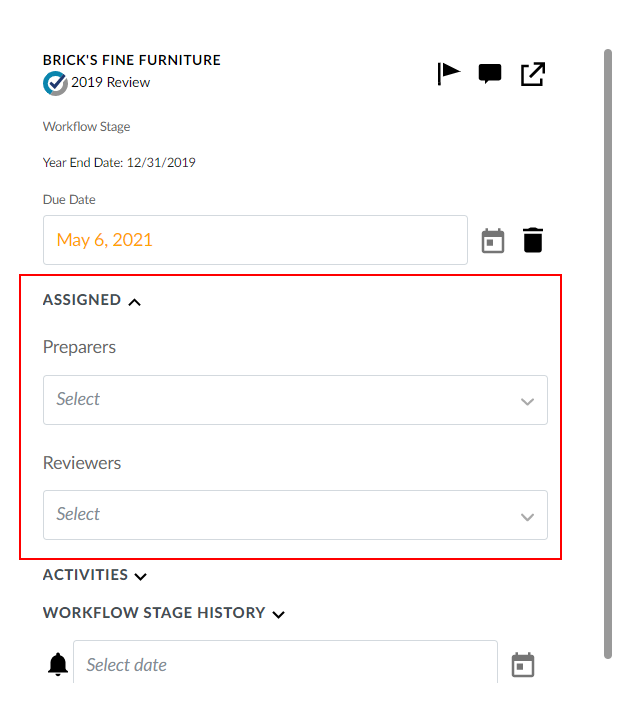
Under Assigned, select the users to whom you would like to assign the job.
Cloud engagement cards allow you to assign both a preparer and a reviewer.
Query cards allow you to assign the query to a specific contact or to all contacts in the entity.
Jobs assigned to staff members will display in their column in the People view and their initials or profile picture, if available, will appear on the cards as a quick reference.
Set a due date
We recommend setting due dates for jobs you have assigned to staff members in Accomplish.
You can assign a due date to a job either through the Due Date view or in the job card details.
To set a due date through the Due Date view:
-
Select the Due Date view from the menu bar at the top.
-
Select the card and drag it to the column with the appropriate time frame.
You can set jobs to be due Today, This week, Next week or Later.
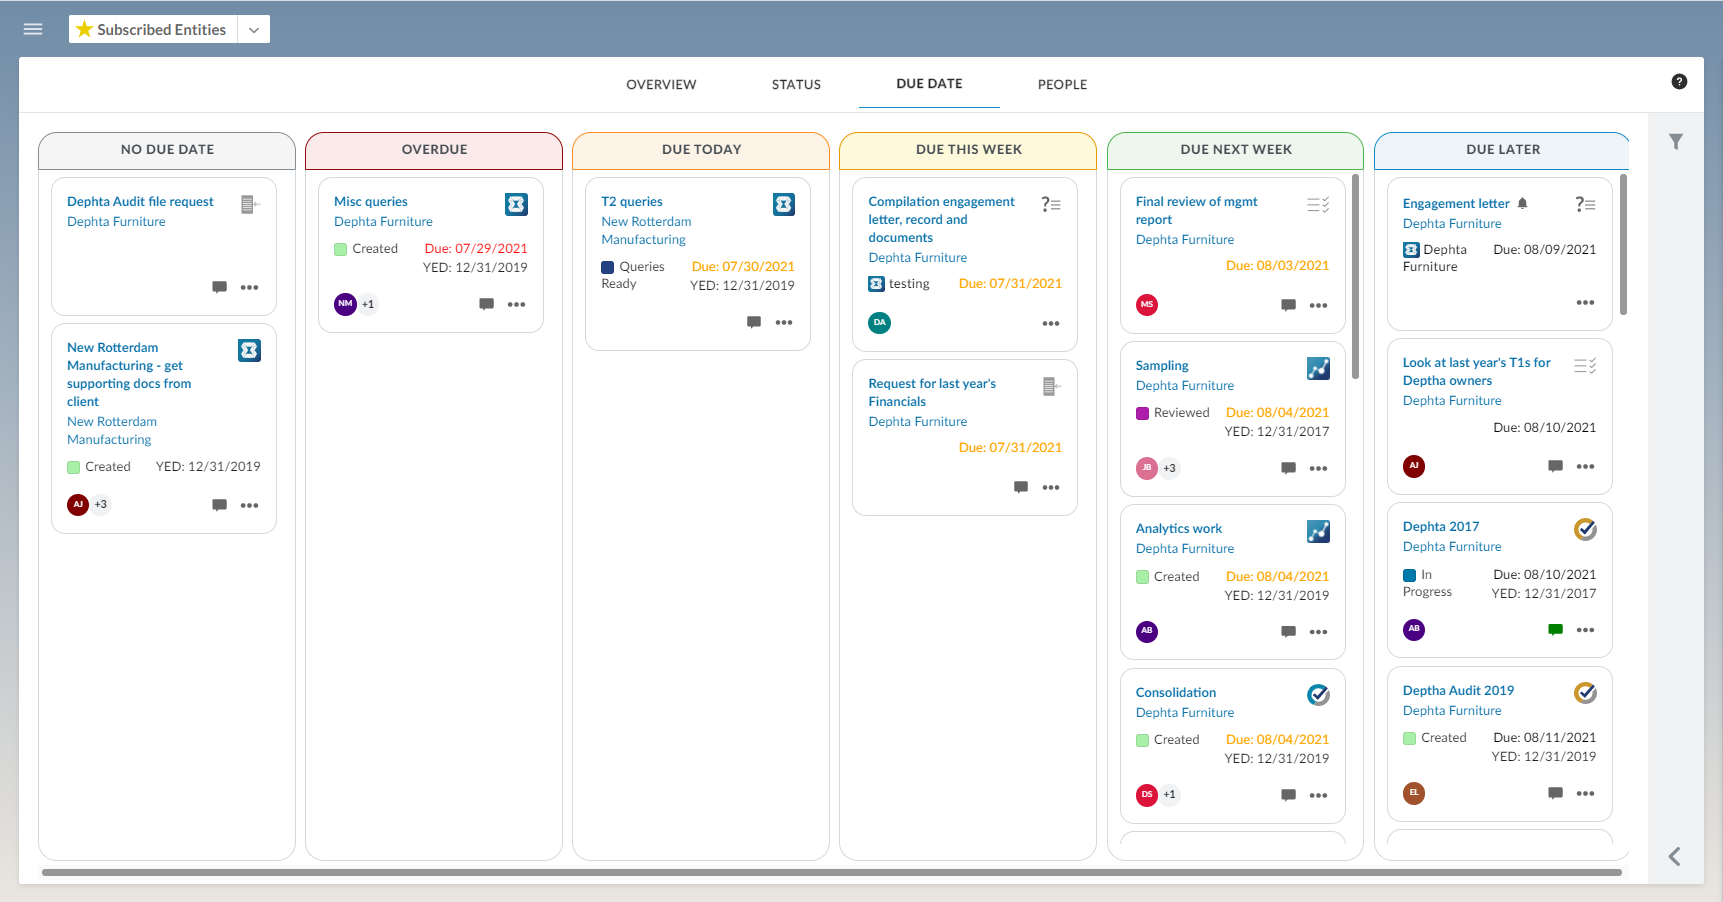
If you drag the card to a column other than today, a dialog displays allowing you to specify the exact date. Cards in each column appear in ascending order by due date, meaning that jobs with the earliest due dates are displayed at the top of each column.
If a card does not have a due date, it will remain in the No Due Date column in the Due Date view.
Cards with a due date that has passed appear in the Overdue column.
To set a due date in the job card details:
-
Select More actions (
) on the card. -
Select the due date from the Due Date picker.
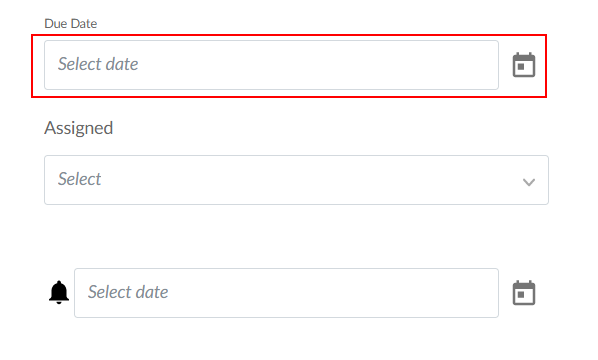
Once you have selected a due date for the job, you can also set a reminder. To learn more see Set reminders.