Manage tasks
As a manager or a partner, you need a way to track the progress made by your organization. You may need to look at your organization as a whole, or you may want to manage a specific client engagement. If your organization uses tasks in Cloud to track engagement deliverables, you can assign due dates to them. With these due dates assigned, you can review the progress of your organization's work from the Activities page.
Setting due dates on tasks
When you set due dates for the activities on Cloud, other staff can track and manage their workloads and deadlines more easily.
To set a due date for a task:
-
Ensure that you have the Editor role or equivalent permissions for the client entity.
-
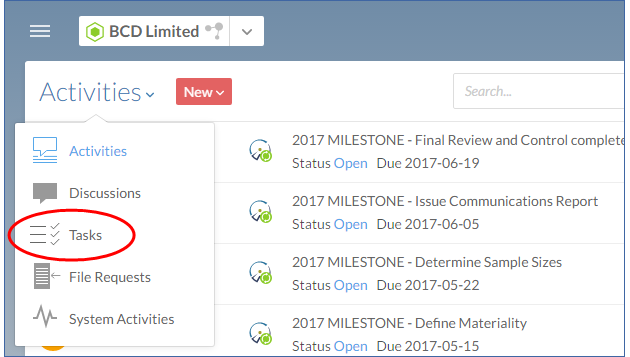
From the Cloud menu, select Activities.
-
Select the Activities menu, then choose Tasks.
-
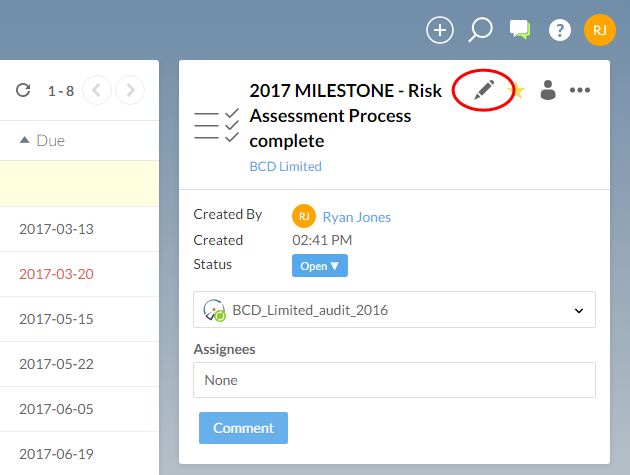
On the Tasks page, select the task to be assigned a due date. In the details pane, select Edit (
 ).
).
-
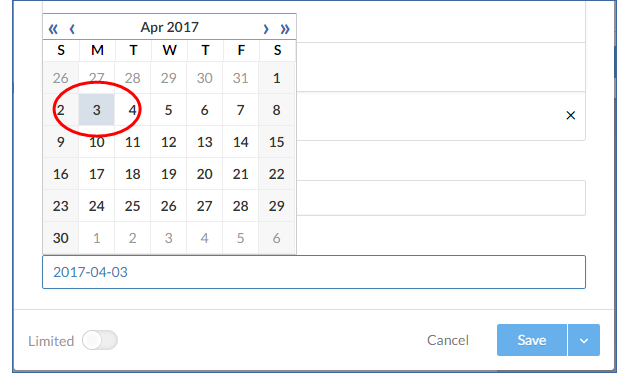
In the Edit Task dialog, select a due date using the calendar menu.
-
Select Save.
You have now set a due date for the task in Cloud.
Reviewing assigned tasks
If your organization uses tasks in Cloud for engagement milestones, you can quickly review the tasks for a client to measure the relative engagement progress.
To review assigned tasks:
-
Ensure that you have the Viewer role or equivalent permissions for the client entity.
-
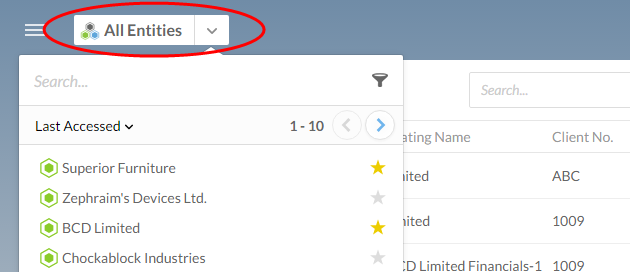
Select your client entity in the entity selector at the top left side of the page.
-
From the Cloud menu, select Activities.
-
Select the Activities menu, then choose Tasks.
-
Select the Due column heading to sort the tasks by due date.
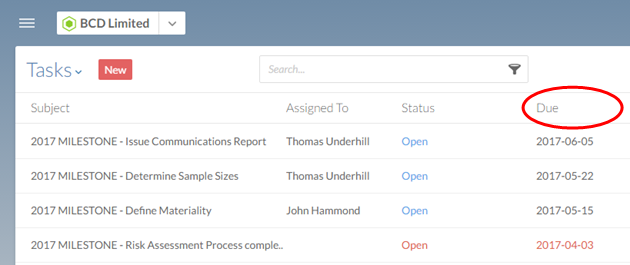
You are now looking at a list of all the tasks related to your engagement. The list is sorted by due date in ascending order, so the earliest tasks are displayed at the top of the list.
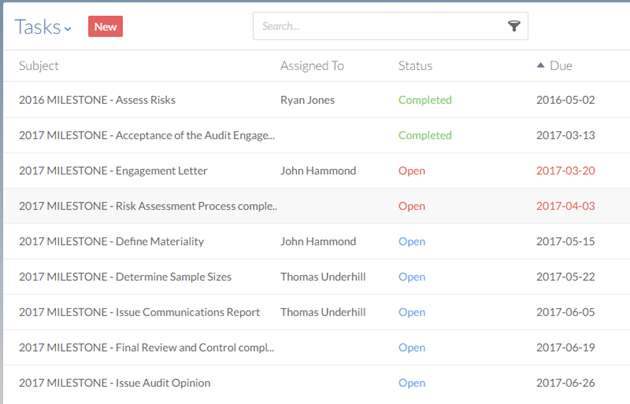
If an open task has a due date that has already passed, its status and due date are both displayed in red.
Viewing overdue tasks
Alternatively, you can look up all overdue tasks for all of your clients across your organization.
To view overdue tasks:
-
Ensure that you have the Viewer role or equivalent permissions for the client entity.
-
From the Cloud menu, select Activities.
-
Select the Activities menu, then choose Tasks.
-
Select the filter icon (
 ) in the search bar, and on the filter menu choose Due | Overdue.
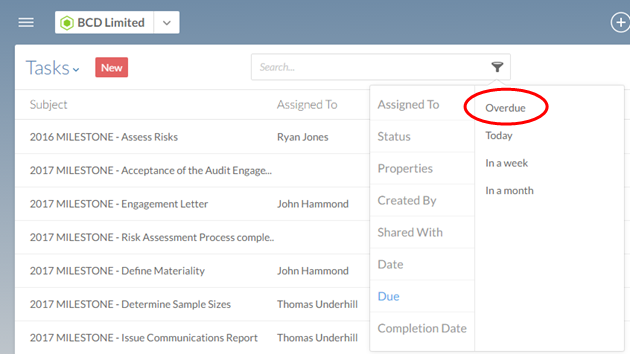
-
On the filter menu, choose Status | Open.
You will see all of the overdue open tasks for your organization displayed on the Tasks page. You can use this information to determine which engagement teams need additional resources or more attention.