Send an invoice to a client

Content in this topic requires CasewareCloud Time.
When it's time to send your client an invoice, you can generate and send the invoice directly from Cloud.
Finalize an invoice
Before sending an invoice, ensure that its status is set to Finalized.
To change the status of an invoice from Draft to Finalized:
-
Ensure you have the Owner role on the relevant client entity and the Process permission.
-
From the Cloud menu, select Billing.
-
Select the Invoices tab.

-
Select an invoice draft.
-
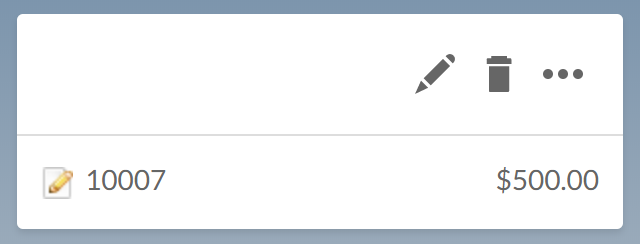
Select Edit (
 ).
). 
-
Select Finalize.

-
(Optional) Choose a template from the Invoice Template drop-down menu.
For more information about invoice templates, see Create invoice templates.

-
Select the Finalize button. If you want to send your invoice by email right away, select Send.
You have changed the status of an invoice from Draft to Finalized.
Send finalized invoices
You can send finalized invoices directly from Cloud, or generate a PDF to send by another method.
Send a Finalized invoice by email
Send finalized invoices directly from Cloud by email.
To email selected finalized invoices:
-
Ensure you have the Owner role on the client entity and the Process permission.
-
From the Cloud menu, select Billing.
-
Select the Invoices tab.

-
Select the finalized invoices you want to send.
-
Select More Actions (
 ) | Email selected invoices.
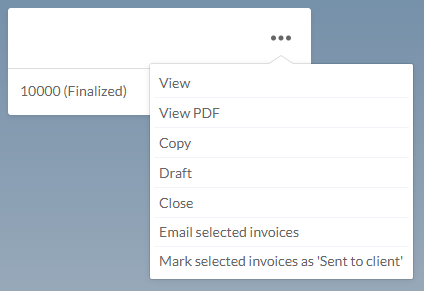
-
Complete all required fields in the Email dialog
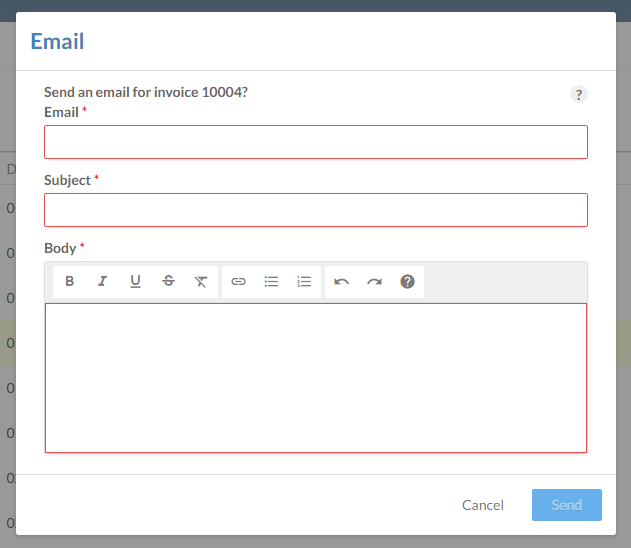
-
Select Send.
You have sent the selected invoices. You can resend invoices by following the same steps, but each invoice must be resent individually. You cannot resend invoices in bulk, or as part of a group of finalized invoices.
Send a PDF copy of an invoice
When you need to send an invoice by mail or by from a different email account, you can generate a PDF copy.
To generate a PDF from a finalized invoice:
- From the Cloud menu, select Billing.
-
Select the Invoices tab.

-
Select a finalized invoice.
-
Select the More Actions(
 ) | View PDF.
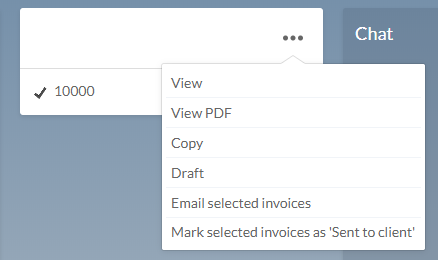
You have generated a PDF invoice which can be printed and mailed or sent as an attachment.
Close an invoice
When you are done with an invoice, you can change its status to Closed to show it no longer needs attention. For example, you can change the status of an invoice to Closed after a client pays in full. After you close an invoice, it is removed from the Invoices tab. You can display closed invoices on the Invoices tab again by using the Closed filter. To learn more, see Display closed invoices.
To close an invoice:
-
Ensure you have the Process permission.
-
From the Cloud menu, select Billing.
-
Select the Invoices tab.

-
Select a finalized invoice, then select More Actions (
 ) | Close.
You have closed an invoice. Closed invoices are hidden on the Invoices tab, but you can display them using the Closed filter.
Display closed invoices
By default, closed invoices are hidden on the Invoices tab. You can display them using the Closed filter.
To display closed invoices:
-
Ensure you have the Process permission.
-
From the Cloud menu, select Billing.
-
Select the Invoices tab.

-
Select the filter button, then select Status | Closed.
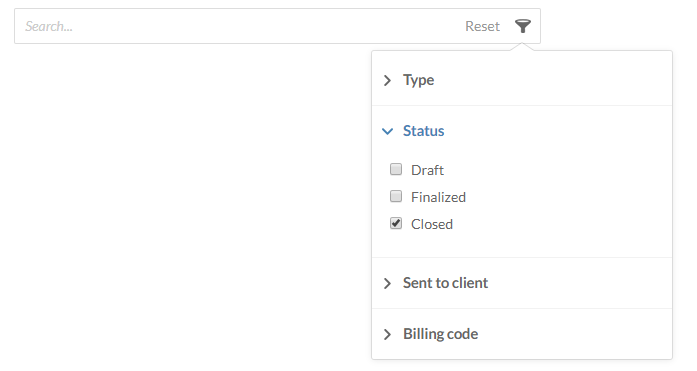
Closed invoices are displayed on the Invoices tab. If you need to modify a closed invoice, first change its status to Finalized by selecting the More Actions (![]() ) | Revert to Finalized.
) | Revert to Finalized.
