Export data from Sage 50 Canada to Caseware Cloud
The data you need to export from Sage 50 Canada varies according to the Caseware dataset type into which you want to import data. See the table below to proceed to the instructions to export the data you need. Caseware Cloud data is organized into several standard datasets depending on the purpose of the data, such as trial balance, general ledger and subledger data among others.
For more information on importing data into Caseware Cloud, as well as dataset type descriptions, see Import and manage data.
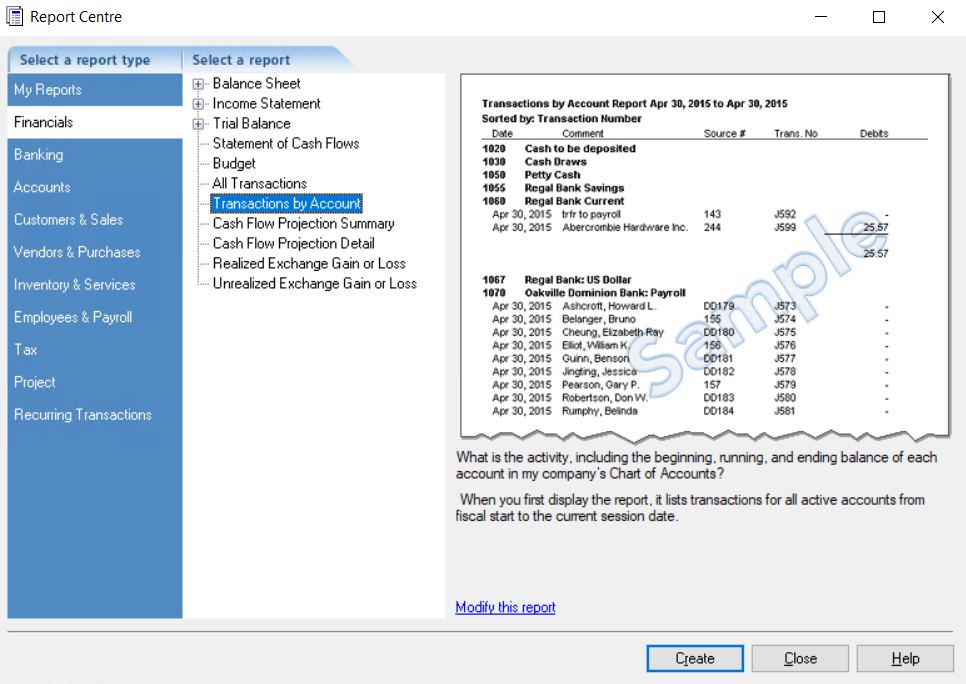
Export Transactions by Account report
To export the Transactions by Account report from Sage 50 Canada:
- From the Reports menu, select Report Centre.
- On the Report Centre dialog, in Select a report type, select Financials | Transactions by account.
- Click Create. A preview of the report that will be exported is displayed.
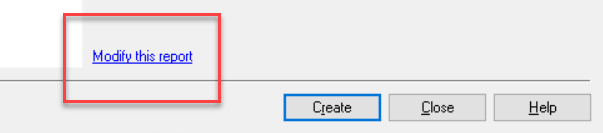
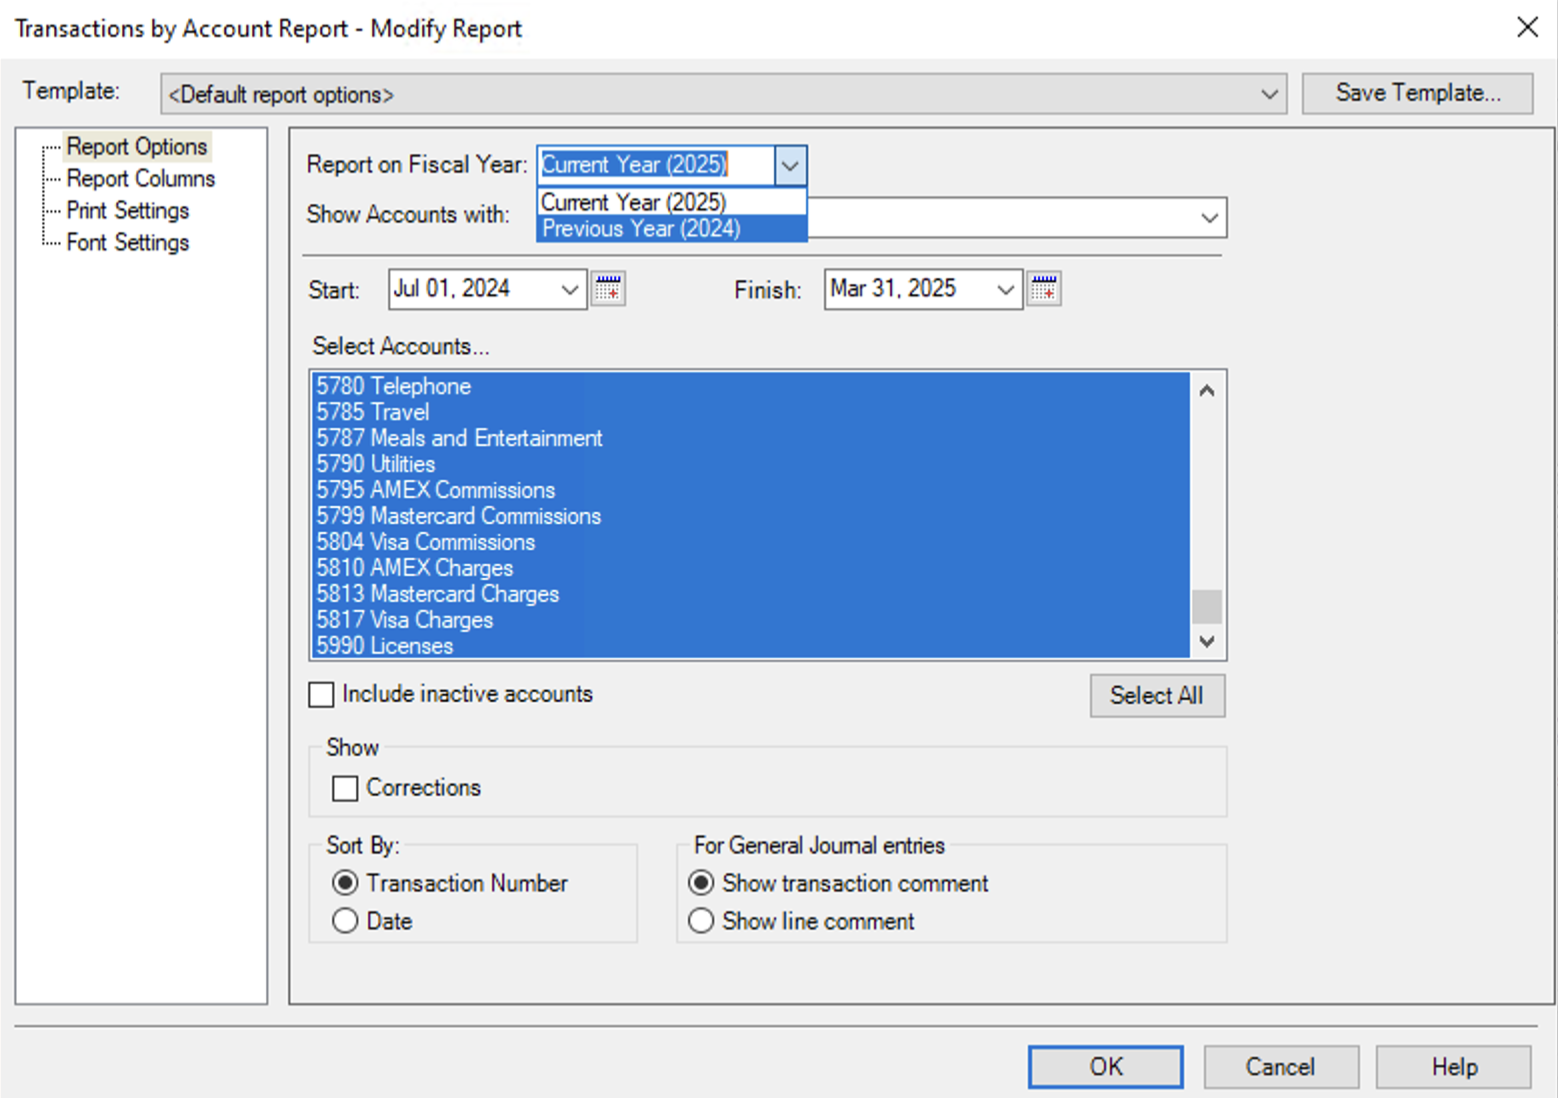
Note: The Report Centre exports data for the current financial year by default. If your engagement dates are from the previous financial year, you can click the Modify this report option, and from the Report on Fiscal Year dropdown, select Previous Year (YYYY).
- From the File menu, select Export...
- In File name, specify a name for the report that you will recognize when importing it into Caseware Cloud and click Save.
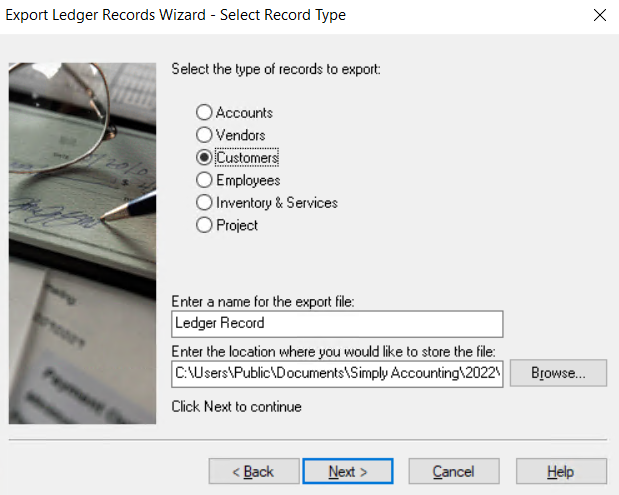
Export the Customer Ledger record
To export the Customer Ledger record from Sage 50 Canada:
- From the File menu, select Import/Export | Export records…
- On the Export Records Wizard dialog, in Select a report type, select Export records to a Sage 50 Import file format. Click Next.
- In Select the type of records to export, select Customers.
- Specify a name and location for the export file and click Next.
- In the Select the customers you want to export box, select the customers whose ledger records you want to export or click Select All to export all customer ledger records.
- Click Next.
- View the Export Records Summary and click OK.
- Click Finish.
Export the Customer Aged Detail report
To export the Customer Aged Detail report from Sage 50 Canada:
- From the Reports menu, select Report Centre.
- On the Report Centre dialog, in Select a report type, select Customers & Sales | Customer Aged Detail.
- Click Create. A preview of the report that will be exported is displayed.
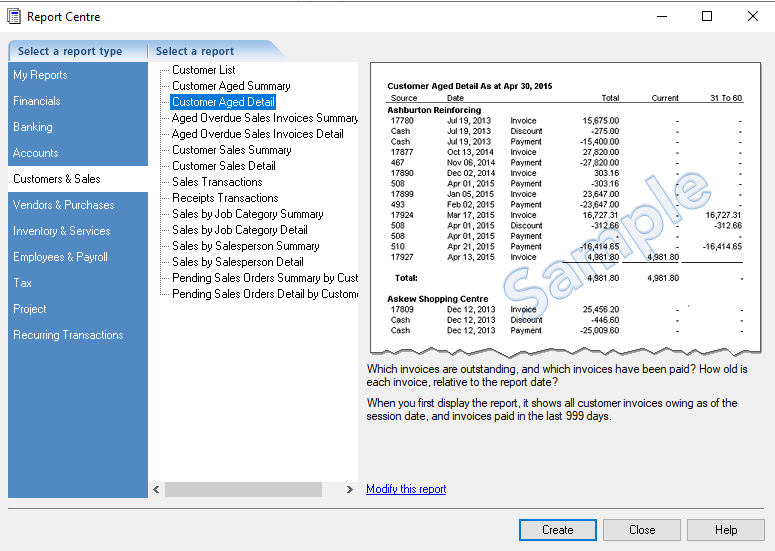
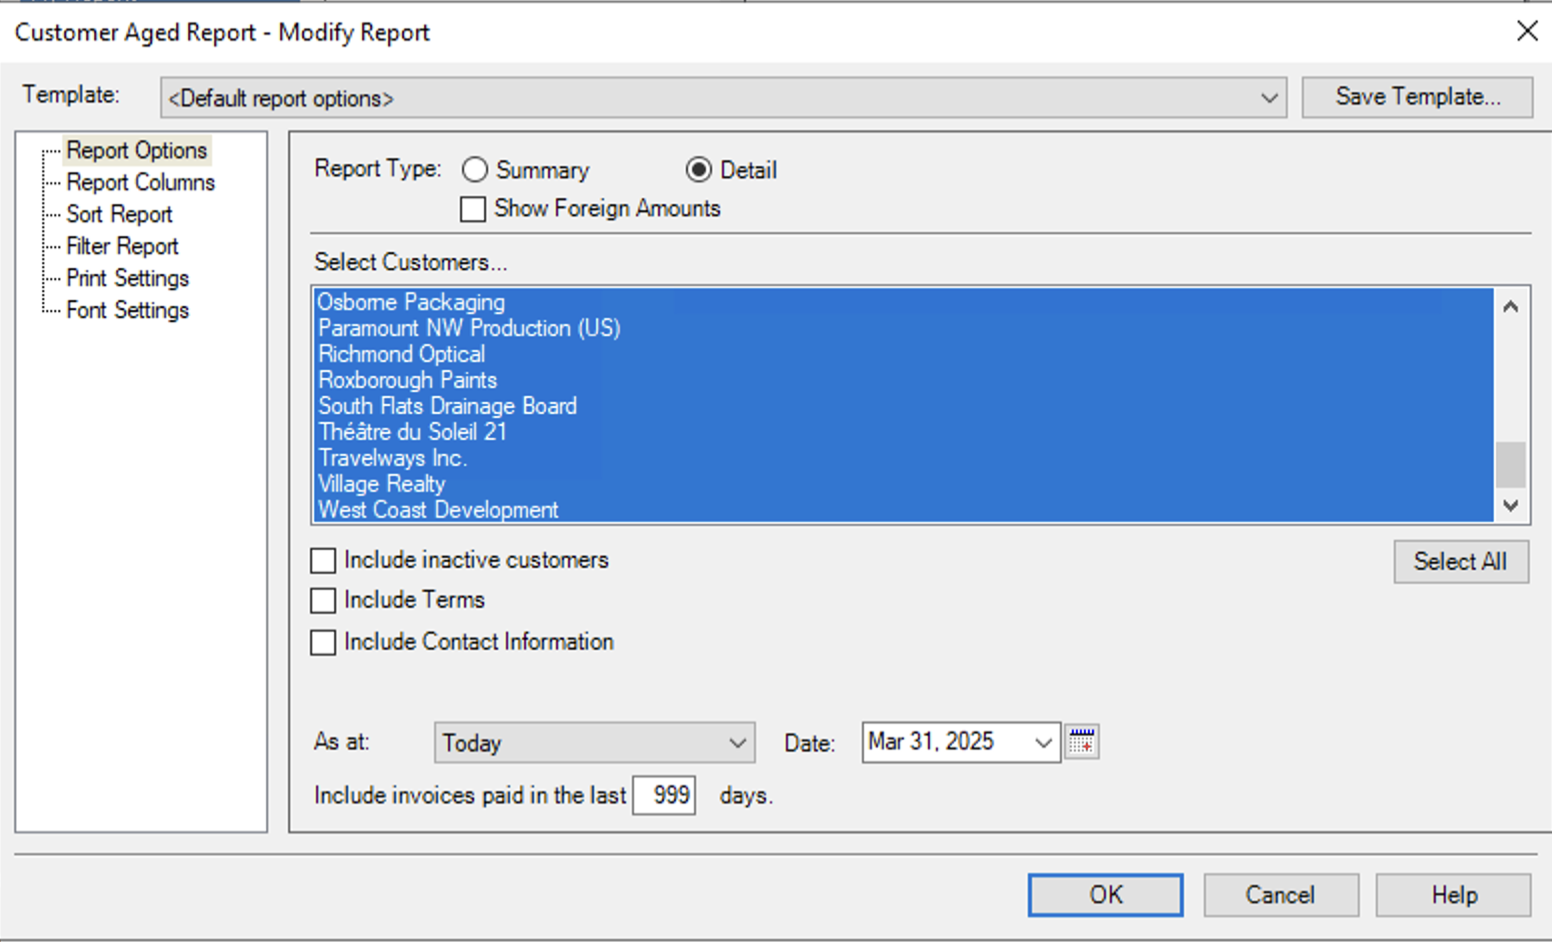
Note: The Report Centre exports all invoices paid in the last 999 days as of the closing date of the current fiscal year by default. You can modify the As at date by clicking the Modify this report option. Make sure that the selected date is later than or equal to the End Date of your Caseware engagement.
- From the File menu, select Export…
- In File name, specify a name for the report that you will recognize when importing it into Caseware Cloud and click Save.
Export the Aged Overdue Sales Invoices Detail report
To export the Aged Overdue Sales Invoices Detail report from Sage 50 Canada:
- From the Reports menu, select Report Centre.
- On the Report Centre dialog, in Select a report type, select Customers & Sales | Aged Overdue Sales Invoices Detail.
- Click Create. A preview of the report that will be exported is displayed.
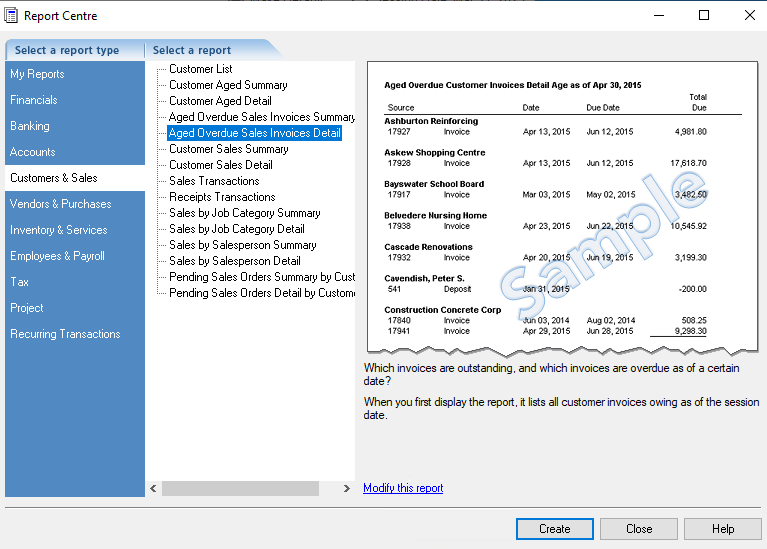
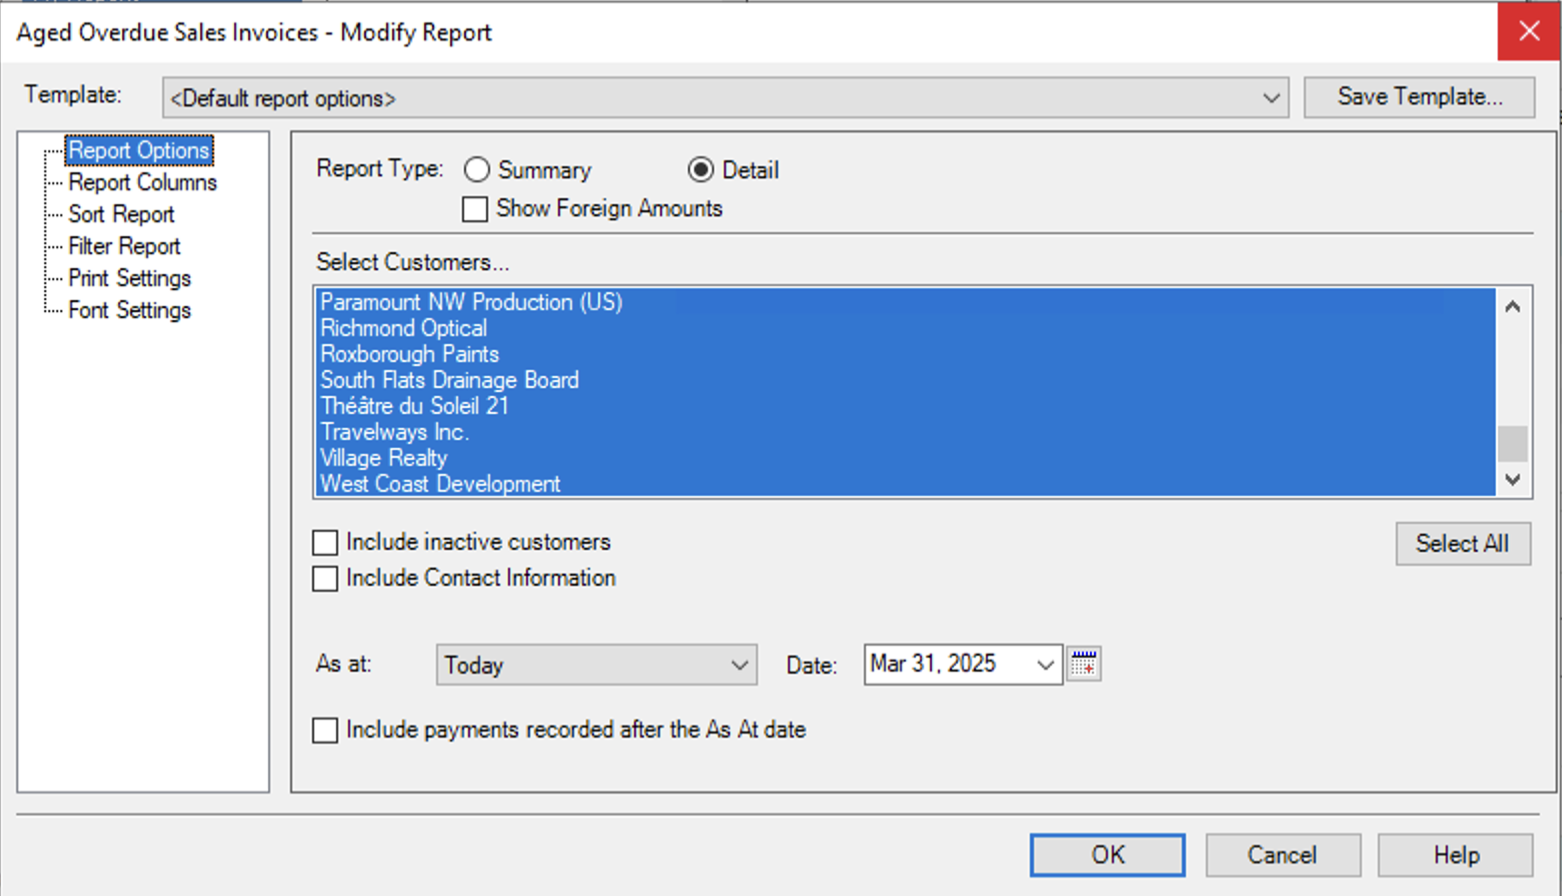
Note: The Report Centre exports payments made in the last 999 days as at the closing date of the current fiscal year by default. You can modify the As at date by selecting the Modify this report option. Make sure that the date you select is equal to the End Date of of your Caseware engagement.
- From the File menu, select Export…
- In File name, specify a name for the report that you will recognize when importing it into Caseware Cloud and click Save.
Export the Vendor Ledger record
To export the Vendor Ledger record from Sage 50 Canada:
- From the File menu, select Import/Export | Export records…
- On the Export Records Wizard dialog, in Select a report type, select Export records to a Sage 50 Import file format. Click Next.
- In Select the type of records to export, select Vendors.
- Specify a name and location for the export file and click Next.
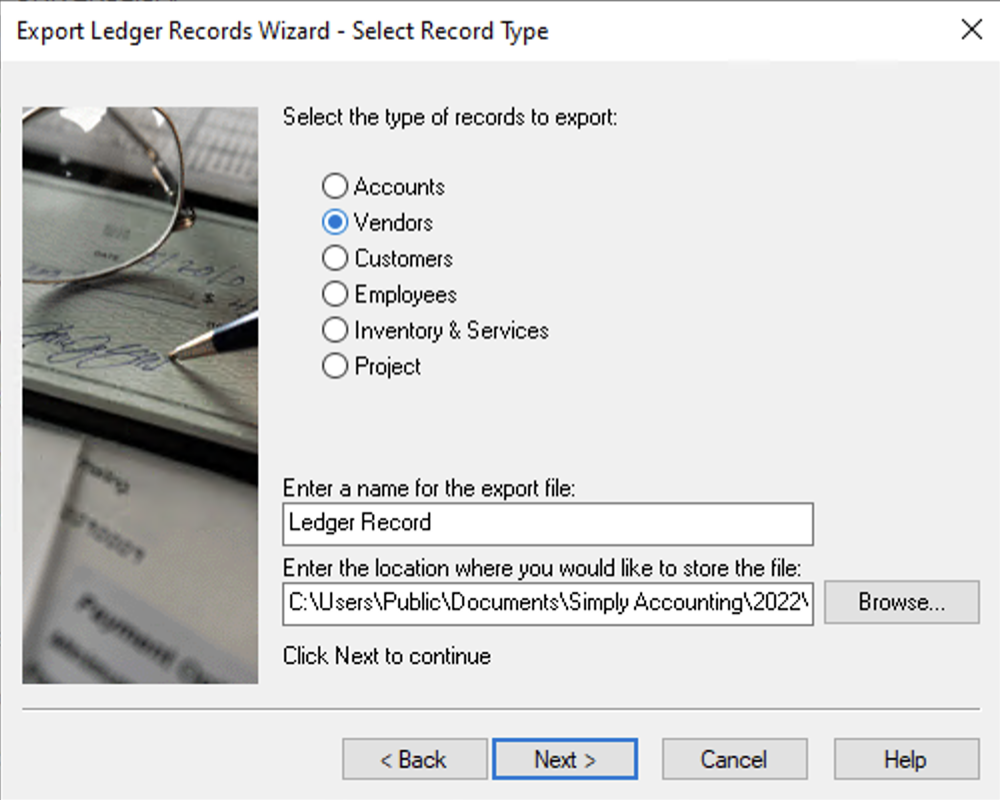
- In the Select the vendors you want to export box, select the customers whose ledger records you want to export or click Select All to export all vendor ledger records.
- Click Next.
- View the Export Records Summary and click OK.
- Click Finish.
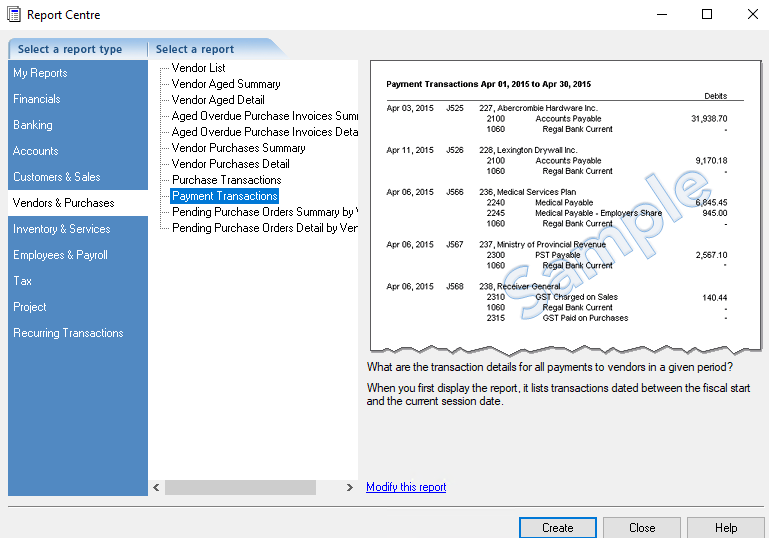
Export the Payments Transactions report
To export the Payment Transactions report from Sage 50 Canada:
-
From the Reports menu, select Report Centre.
-
In Select a report type, select Vendors & Purchases | Payment Transactions.
-
Click Create. A preview of the report that will be exported is displayed.
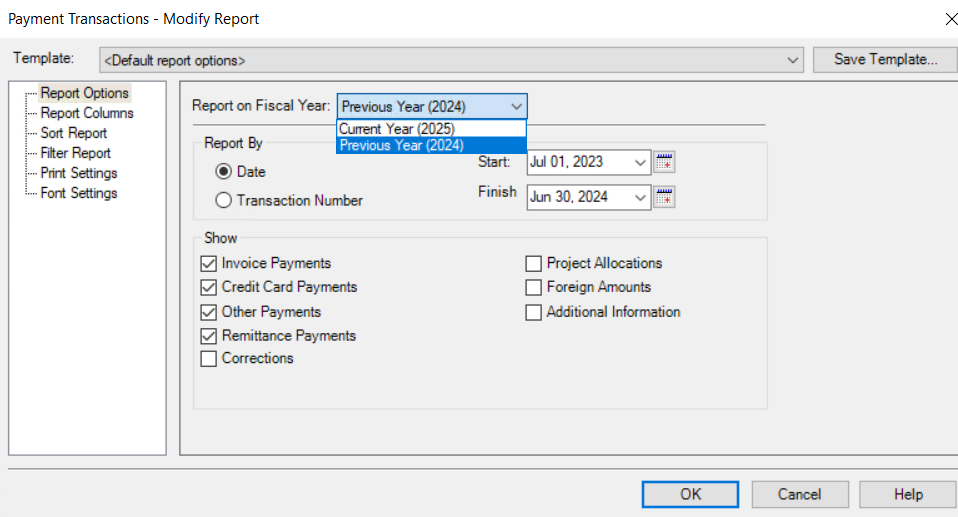
Note: The Report Centre exports data for the current financial year by default. If your engagement dates are from the previous financial year, click the Modify this report option. Select the Report on Fiscal Year dropdown and then the Previous Year (YYYY) option.
- From the File menu, select Export…
- In File name, specify a name for the report that you will recognize when importing it into Caseware Cloud and click Save.
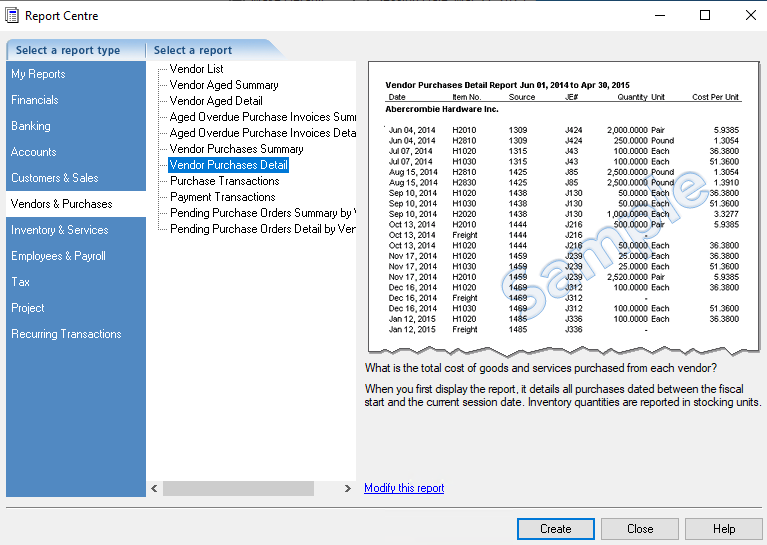
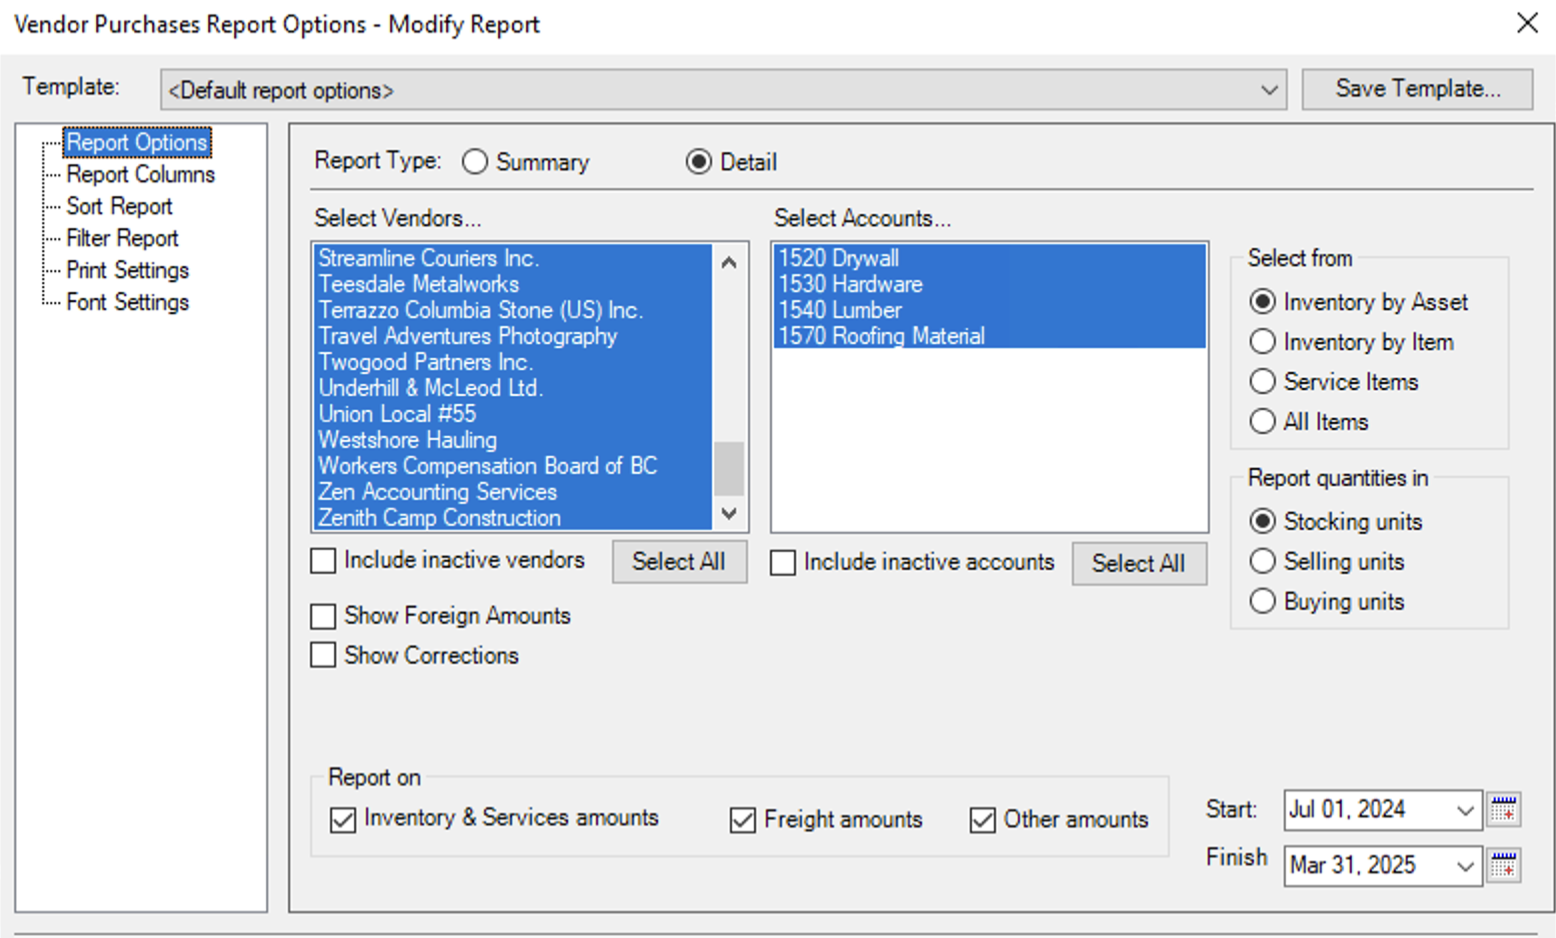
Export Vendor Purchases Detail report
To export the Vendor Purchases Detail report:
- From the Reports menu, select Report Centre.
-
On the Report Centre dialog, in Select a report type, select Vendors & Purchases | Vendor Purchases Detail.
-
Click Create. A preview of the report that will be generated is displayed.
Note: The Report Centre exports data for the current financial year by default. If your engagement dates are from the previous financial year, you can click the Modify this report option and and change the Start and Finish dates.
- From the File menu, select Export…
- In File name, specify a name for the report that you will recognize when importing it into Caseware Cloud and click Save.
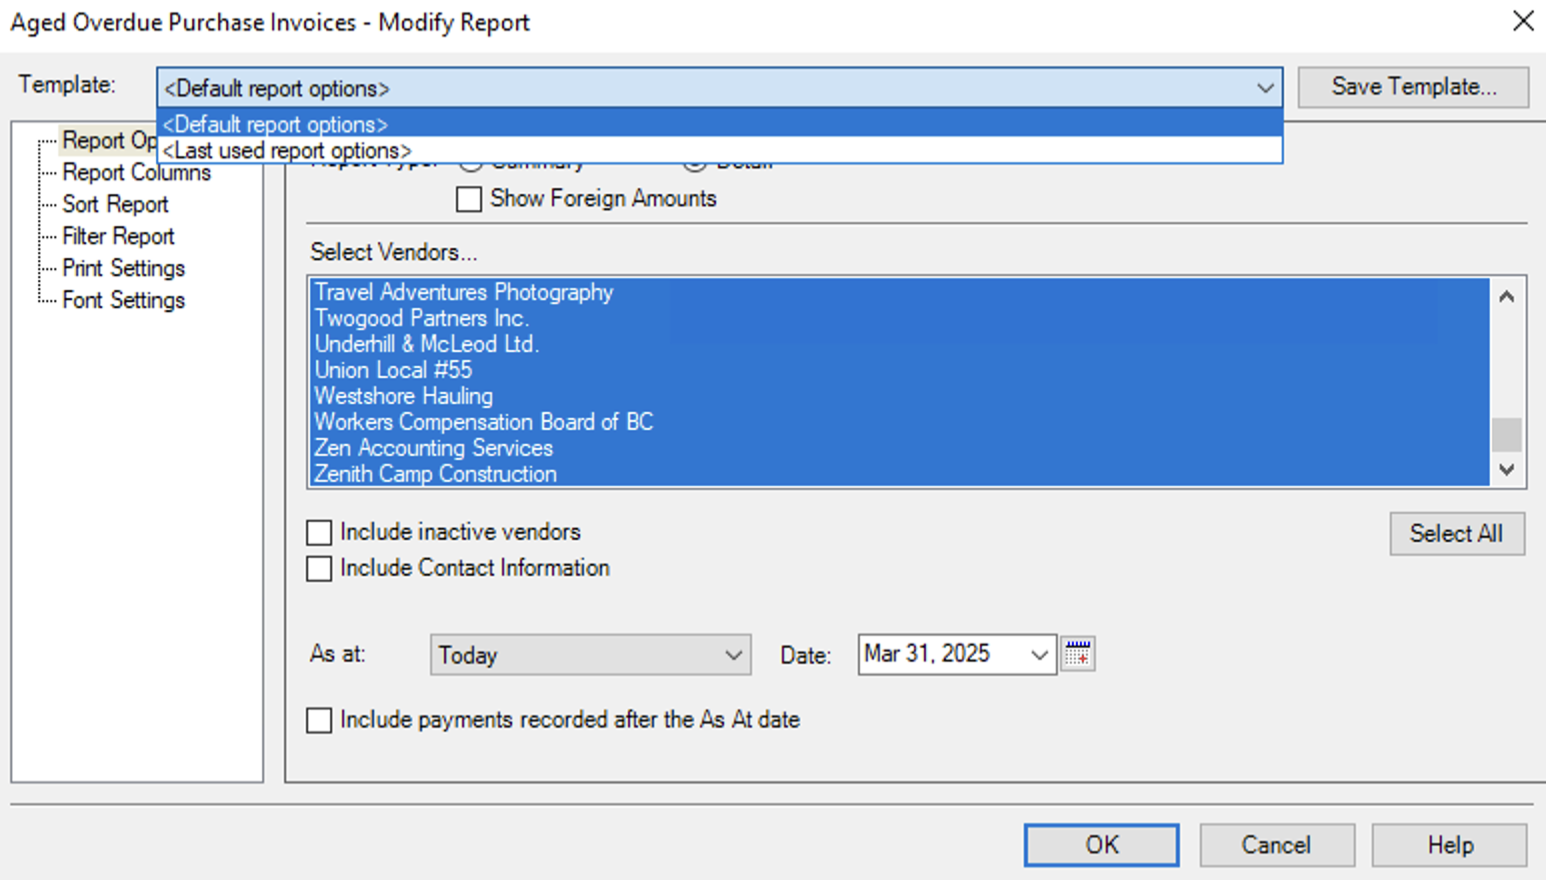
Export the Aged Overdue Purchase Invoices Detail report
To export the Aged Overdue Purchase Invoices Detail report form Sage 50 Canada:
-
From the Reports menu, select Report Centre.
-
On the Report Centre dialog, in Select a report type, select Vendors & Purchases | Aged Overdue Purchase Invoices Detail.
-
Click Create. A preview of the report that will be exported is displayed.

Note: The Report Centre exports Payments made in the last 999 days as of the closing date of the current fiscal year by default. You can modify the As at date by selecting the Modify this report option. Make sure that the selected date is equal to the End Date of your Caseware engagement.
- From the File menu, select Export…
- In File name, specify a name for the report that you will recognize when importing it into Caseware Cloud and click Save.
Export the Quantity report
To export the Quantity report from Sage 50 Canada:
-
From the Reports menu, select Report Centre.
-
On the Report Centre dialog, in Select a report type, select Inventory & Services | Quantity.
-
Click Create. A preview of the report that will be exported is displayed.
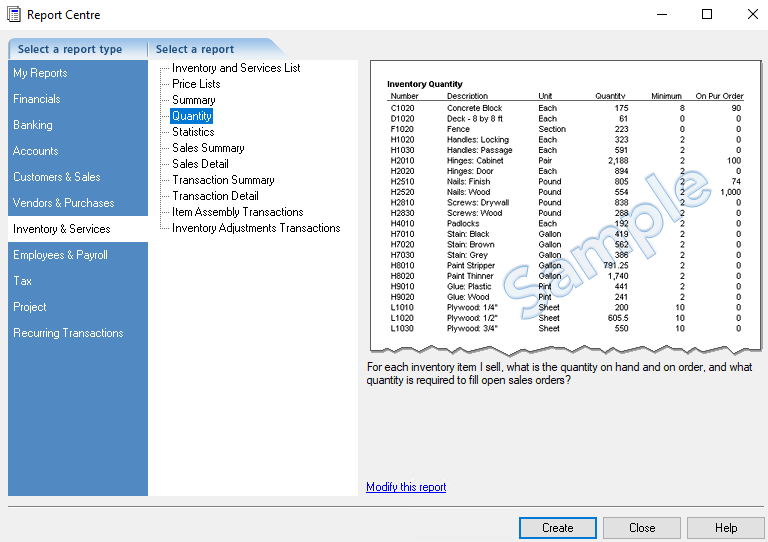
Note: You can modify the default settings of the report by selecting the Modify this report option. Make any changes necessary and click OK.
- From the File menu, select Export…
- In File name, specify a name for the report that you will recognize when importing it into Caseware Cloud and click Save.
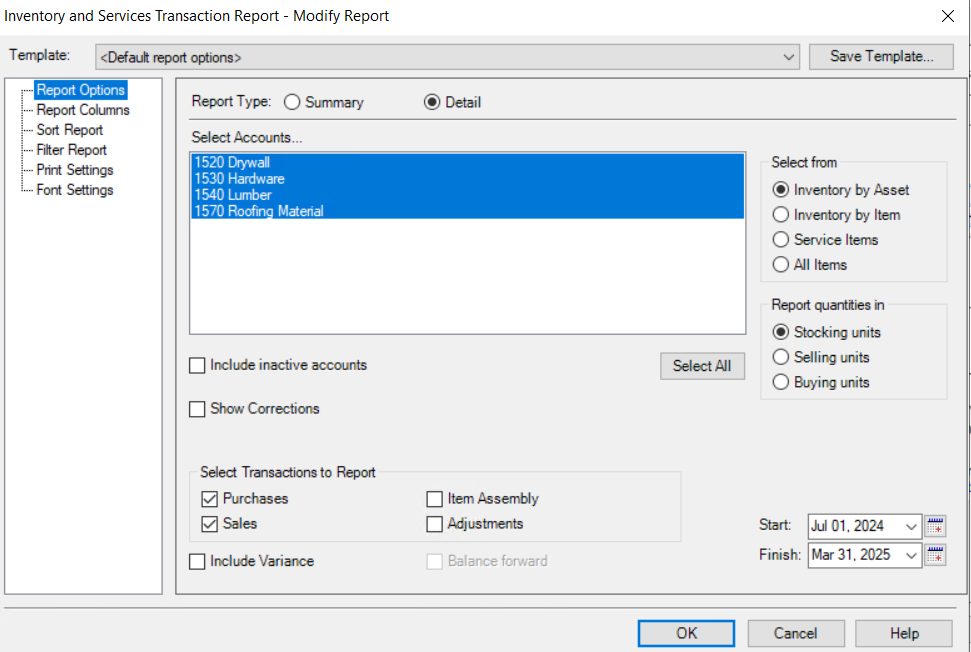
Export the Transaction Detail report
To export the Transaction Detail report:
-
From the Reports menu, select Report Centre.
-
On the Report Centre dialog, in Select a report type, select Inventory & Services | Transaction Detail.
-
Click Create. A preview of the report that will be exported is displayed.
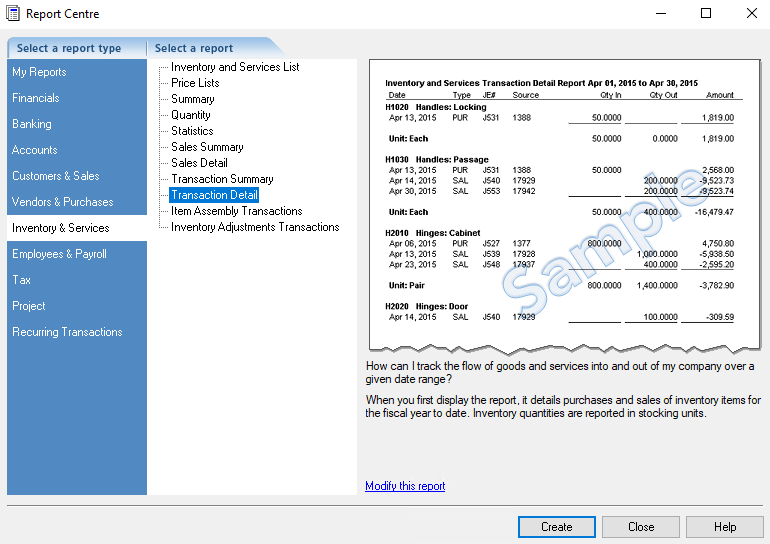
Note: The Report Centre exports data for the current financial year by default. If your engagement dates are from the previous financial year, select the Modify this report option and change the Start and Finish dates.
- From the File menu, select Export…
- In File name, specify a name for the report that you will recognize when importing it into Caseware Cloud and click Save.