Review and send the engagement letter
![]()
This topic applies to OnPoint Audit.
Once you complete the 1-100 Engagement - Acceptance/Continuance document you will be prompted to complete 1-200 Engagement set up. In the Engagement set up document, respond to procedures until you are directed to review and complete the 1-250 Terms of engagement - Engagement letter - Draft.
The draft version of your Engagement Letter is automatically generated based on your responses in the Engagement Setup, as well as your firm's Cloud profile.
Notes and guidance information are available in the letter at the section marked with a lightbulb icon (![]() ). This section is visible by default but will not be displayed when you print the letter. You can hide this section by selecting More Actions (
). This section is visible by default but will not be displayed when you print the letter. You can hide this section by selecting More Actions (![]() ) | Guidance | Off or MoreActions (
) | Guidance | Off or MoreActions (![]() ) | Guidance | Collapsed.
) | Guidance | Collapsed.
Note that you can change the signoff workflow for the document and create custom signoff roles if needed. Voor meer informatie, zie Aftekenrollen opstellen en Aftekenniveaus aanmaken.
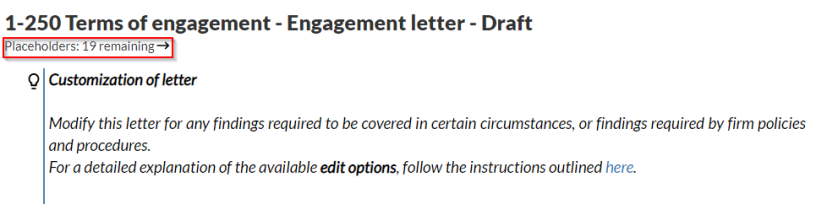
Tip: We recommend that you replace all placeholders before sending the letter. You can replace placeholders by selecting the Placeholders prompt underneath the document title.
To learn more about how to edit the engagement letter see, Edit the OnPoint Audit engagement letter.
Client collaboration — sending queries:
To reduce the complexity of managing data, OnPoint Audit is equipped with the Queries functionality to securely handle your client collaboration.
To obtain the client signature, you can send your draft directly to clients using query documents in OnPoint Audit. Use the Query documents for client collaborations to do the following:
-
Informatie opvragen - vragen stellen aan de klant
-
Bestanden opvragen - de klant vragen om een of meerdere bestanden te uploaden.
-
Send deliverables - send documents to the client to sign and return.
Once client contacts sign in to Cloud, they can directly respond to queries. The client’s response and supplied documentation flow directly into the engagement file. Status of all requests is also contained within the engagement file ensuring that the engagement team and client always know what is completed or outstanding.
To send the engagement letter to your clients:
-
Open the 1-250Q Terms of engagement - Engagement Letter - Query document.
-
In the top-right corner of the document, select SEND. The Open Query dialog opens.
-
Selecteer een deadline voor de reactie van de klant in het veld Opleverdatum vragenlijst.
-
Kies uw klant tussen de contactpersonen in de lijst Toegewezen personen.
U kunt een of meerdere contactpersonen selecteren of u kunt de optie Wijs toe aan alle contactpersonen aanvinken om de vragenlijst naar alle contactpersonen in de entiteit te versturen.
-
In het veld Hoofdtekst van e-mail kunt u nog een bericht toevoegen voor in de e-mailnotificatie die wordt verstuurd.
-
Klik op OK om de vragenlijst te versturen.
Once you send the Query to a client, the status of each Entity changes to Awaiting Response.
Contacts receive an email with your message and a link to the engagement, where they can download a PDF version of the letter, sign and upload the signed copy. Note that contacts can also electronically sign the letter and firms can download the signature log.
In the 1-250Q Terms of engagement - Engagement Letter document, you can also select the More Actions (![]() ) to:
) to:
-
Add contacts to the query.
-
View all items that were previously hidden.
-
Cancel the query.
-
Hide comments.
As the client responds to the query, you have the opportunity to review their responses before adding them to your engagement file. Gebruikers kunnen eerst nog controleren of de antwoorden kloppen of dat de juiste bestanden zijn opgestuurd. To accept the response, mark the query as COMPLETE.
Als er gegevens of bestanden ontbreken of als u extra duidelijkheid wilt vragen dan kunt u de vragen terugsturen. A history log is created for each query to track query progress with a client.
To reopen the query and send it back to the client:
-
Select REOPEN (located at the top right of the screen).
-
Enter comments or notes if required.
Note that marking a query as complete will permanently lock the document and the query will no longer be able to reopen.
To learn more about the staff-contact collaboration workflow, see Staff-contact collaboration (Queries).