Generate the Reply URL (Okta)
Okta uses a Reply URL to redirect users back to Cloud after they've signed in with Okta.
To generate the Reply URL:
-
Ensure you have the Settings Admin role or equivalent permissions.
-
From the Cloud menu (
 ), select Settings | Single Sign-On | Identity Provider.
 -
On the Identity Provider page, complete the following fields:
-
Identity provider name: Enter a meaningful name for your identity provider. For example, Okta. This name will be displayed next to your Reply URL to identify it.
Note: This name cannot exceed 32 characters and can only contain letters, numbers, underscores, plus and minus signs.
-
Identity provider metadata endpoint: Paste the Metadata URI that you copied to a text document previously.
-
Client ID: Paste the Client ID that you copied to a text document previously.
-
Client secret: Paste the Client Secret that you copied to a text document previously.
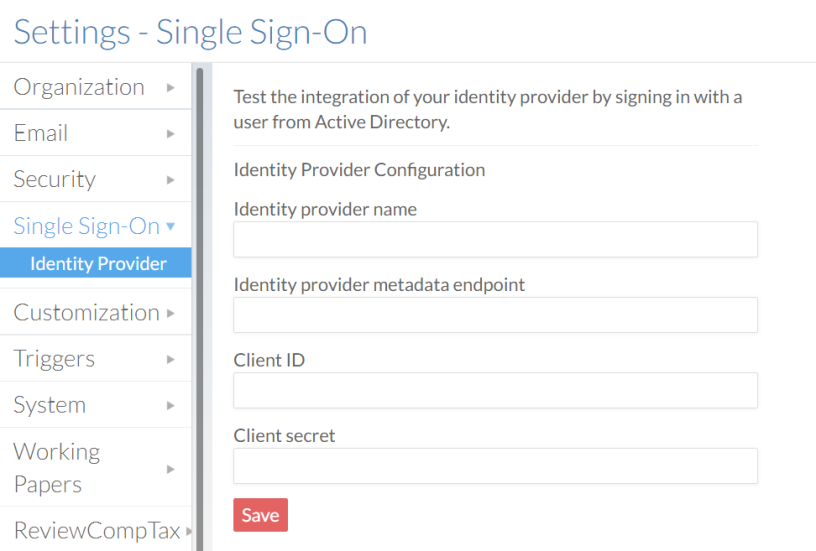
Select Save. Your Reply URL is displayed.
-
-
Select the Copy to Clipboard (
 ) button to copy your Reply URL. You'll need to add it to your app integration in Okta.
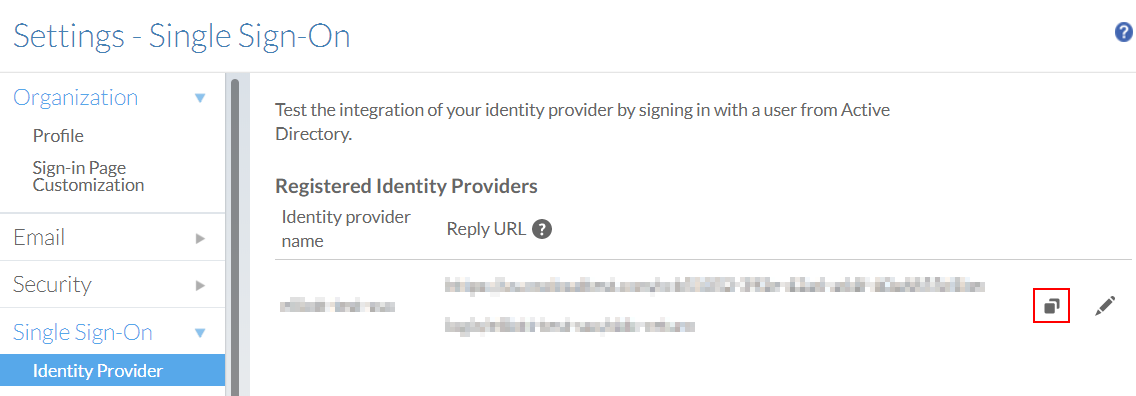
Set your Reply URL in Okta
After you generate a Reply URL, you'll need to add it to Okta to ensure that users can sign in successfully.
To set your reply URL in Okta:
-
Log in to your firm's Okta dashboard with an Admin account.
-
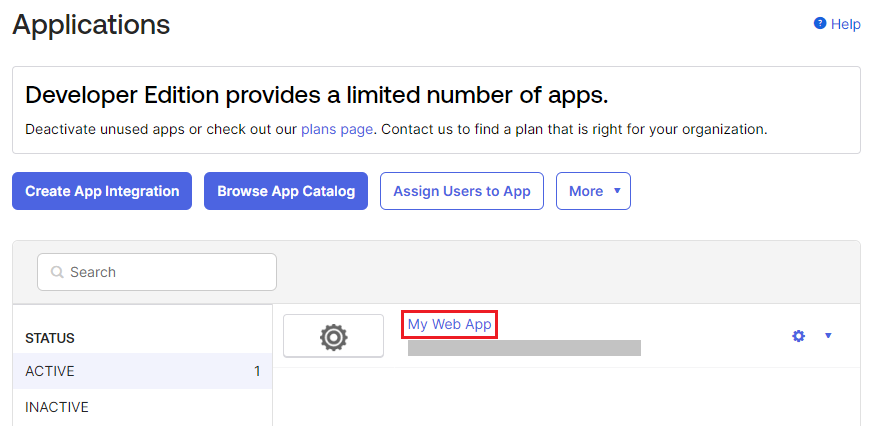
From the main menu, expand the Applications drop-down menu and select Applications.
-
On the Applications page, select the name of your app integration.
-
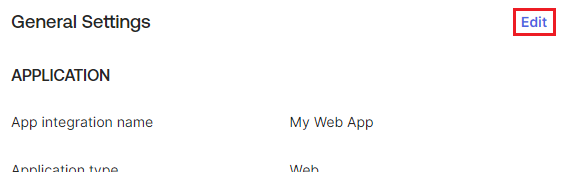
On the app integration's page, under the General tab, scroll down to the General Settings group.
-
Select Edit.
-
Scroll down to the Login group.
-
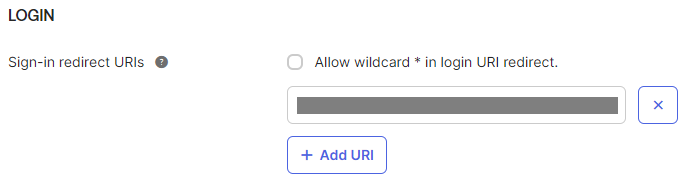
Next to the Sign-in redirect URIs field, select Add URI.
-
Paste the Reply URL into the field.
-
Additionally, paste the Reply URL into the Initiate login URI field. Select Save.