Review and add XBRL tags
Note: This feature is only available if it has been enabled in your product.
The XBRL review panel allows you to identify and review system tags, add custom tags, and activates the review highlighting for tagged XBRL facts in your financial statements
Review XBRL tags
You can launch the XBRL panel from the XBRL icon in the top menu and then begin reviewing your XBRL tags.
To review XBRL tags:
-
Select the XBRL (
 ) icon from the top menu.
 -
If there are multiple taxonomies available in your product, select the taxonomy you want to review.
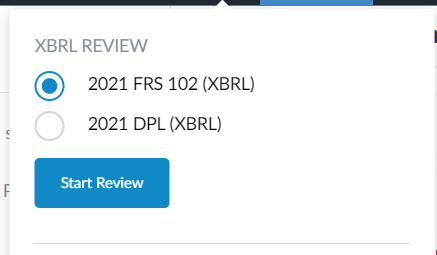
-
Select Start Review.
The XBRL review panel launches and displays on the right side of the page.
-
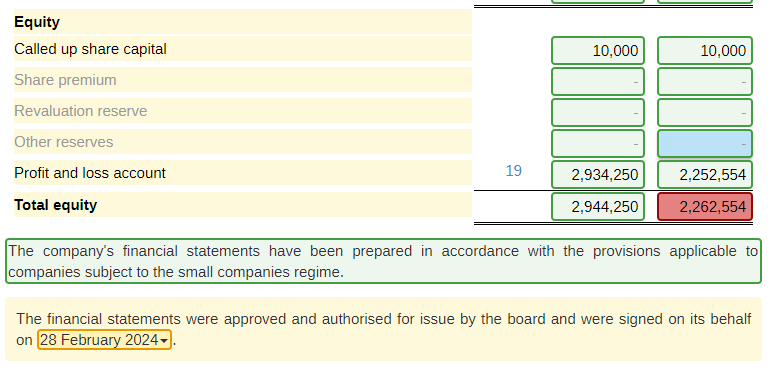
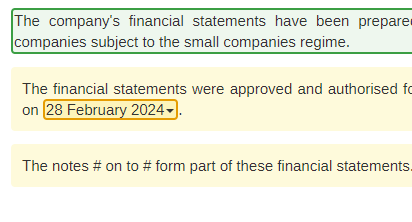
You can now review the XBRL facts tagged in your financial statements and make edits as required. The tagged facts are highlighted with the following colors to indicate their tagging status:
-
Green - System tag which has not been edited
-
Red - System tag which has been edited
-
Yellow - Custom tag which has been created in the engagement
-
Blue - The currently selected tag. The border color of the currently selected tag will be green, red or yellow to indicate its tagging status
-
Add custom tags
If you need to tag additional XBRL facts, you can add custom tags from your XBRL taxonomy during the review process. Ensure you have launched the XBRL review panel before you add custom tags.
To add a custom tag:
-
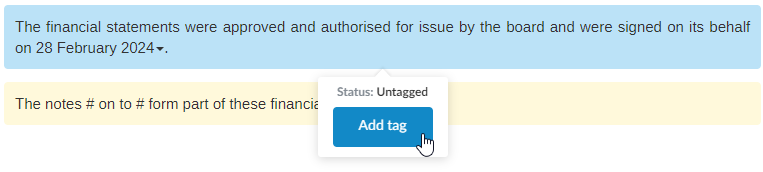
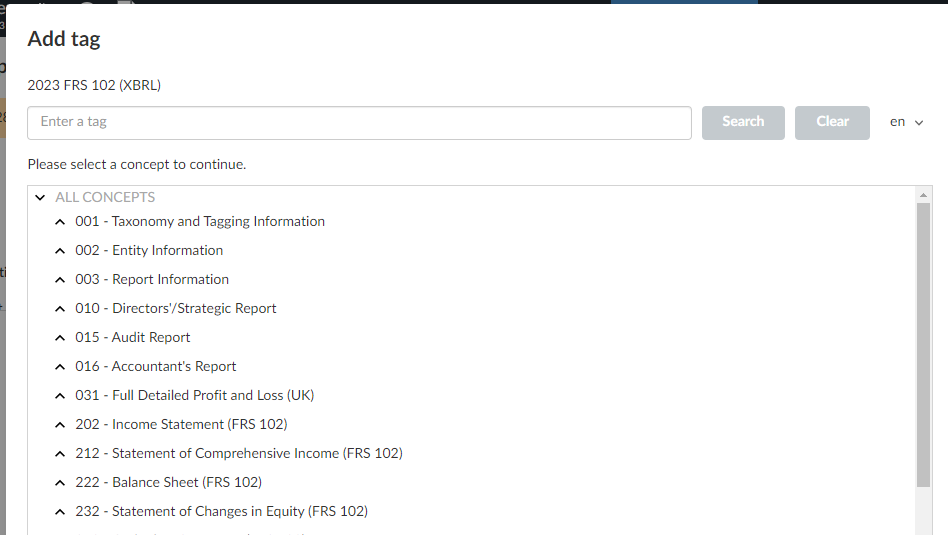
Select the paragraph or table you want to tag, and select Add tag.
If you need to tag a formula or placeholder in a paragraph, select the paragraph. You can specify the formula or placeholder you want to tag later in the tagging process.
-
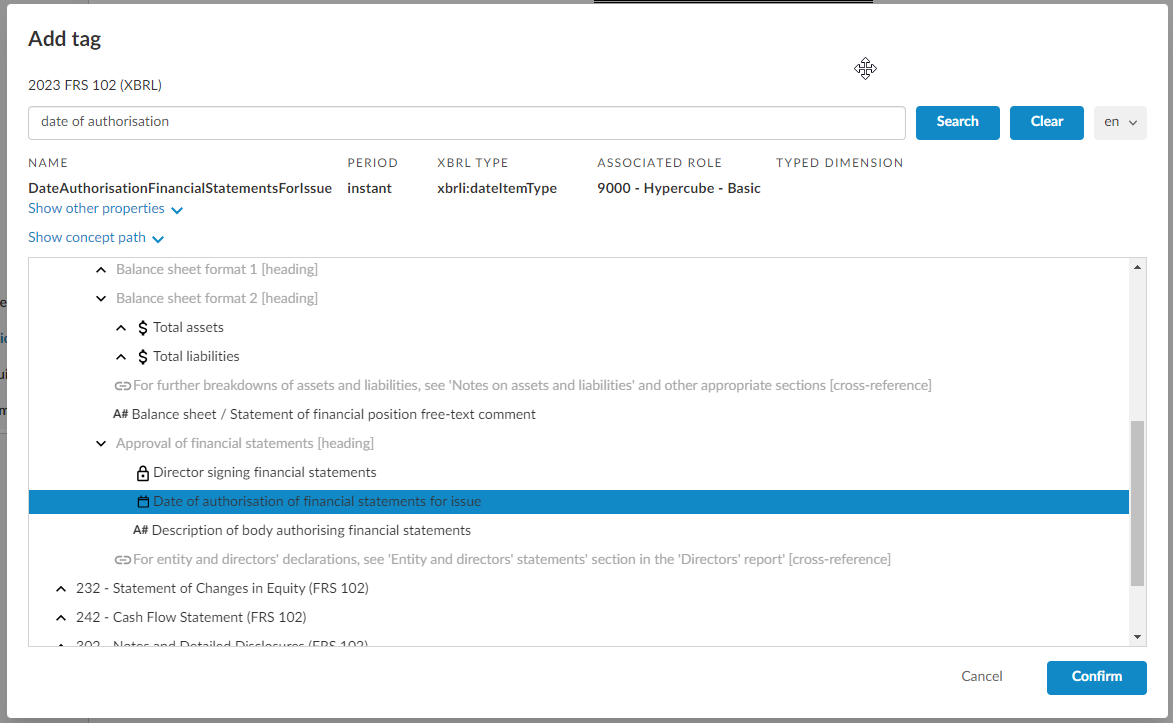
Locate and select the tag from the taxonomy. You can use the search box to locate the correct tag.
If you have previously added custom tags, the taxonomy will open to display the last selected tag.
-
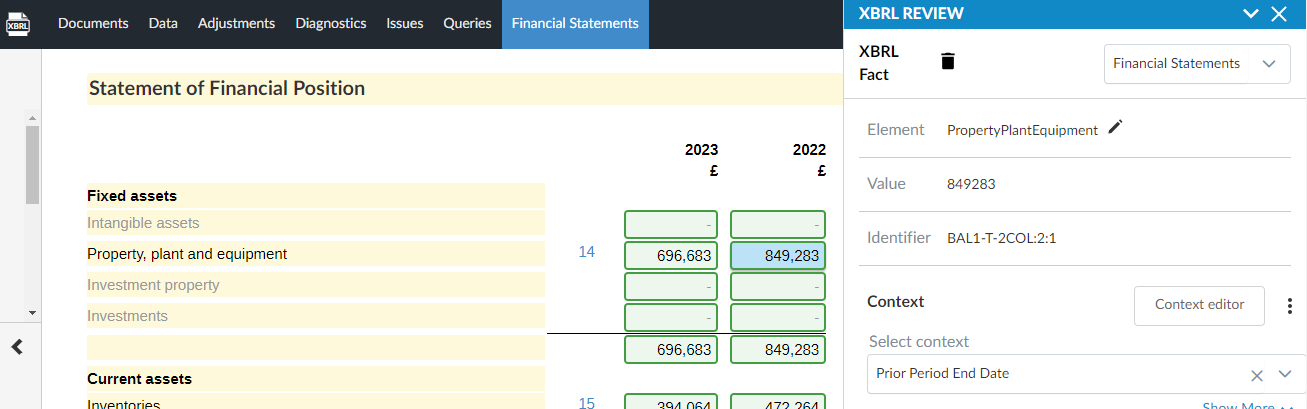
When you select a tag, key information about it displays below the search bar, such as the element name, period and type. Review this information to ensure you have selected the correct tag and then select Confirm.
-
If you want to tag a specific data link or placeholder in a paragraph, select the item you want to tag from the Content dropdown.
You will then need to reselect the tag from the taxonomy by selecting the Edit (
 ) icon next to the Element field.
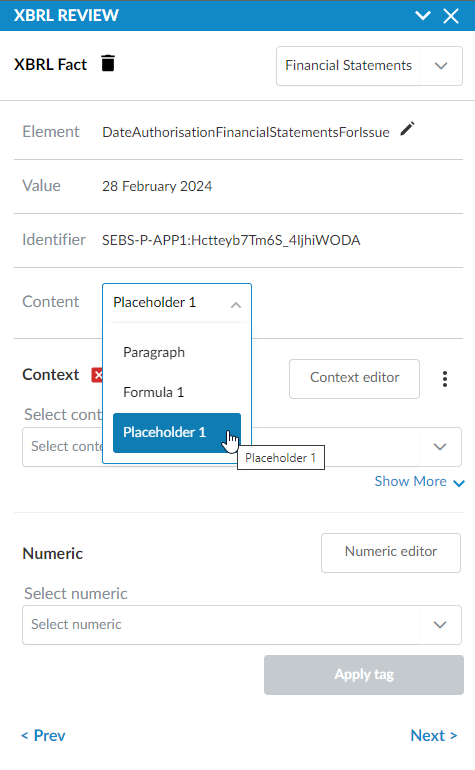
-
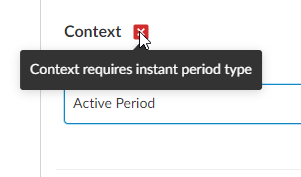
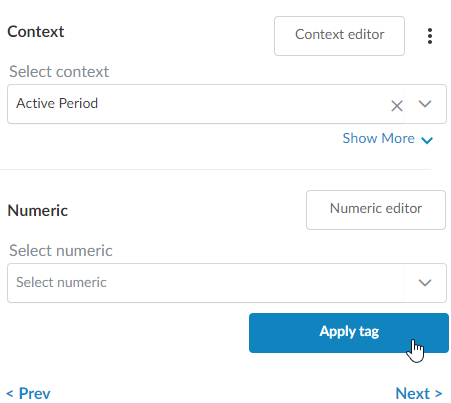
Select a Context for your tag from the dropdown. If an appropriate context does not exist, you can create one.
If you select a context that will result in diagnostic errors when exporting XBRL reports, a message will display to indicate why the context cannot be chosen for the tag.
-
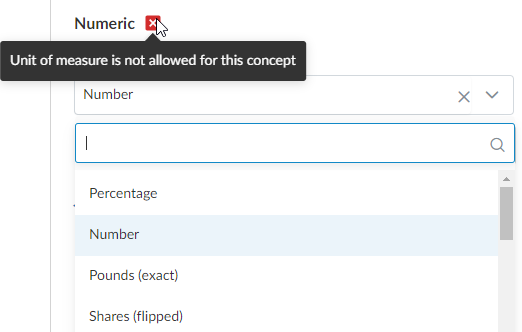
If required, select a numeric option. If an appropriate numeric does not exist, you can create one.
If you select a numeric that will result in diagnostic errors when exporting XBRL reports, a message will display to indicate why the context cannot be chosen for the tag.
-
Select Apply tag.
Your content is now tagged and highlighted in yellow to indicate it is a custom tagged fact.
Delete a custom tag
You can delete custom tags you have added.
Note: System tags cannot be deleted, but they can be edited
To delete a custom tag:
-
Select the XBRL fact that no longer requires a custom tag.
-
Select the Delete (
 ) icon.
-
In the confirmation dialog, select Yes.