Grant users and groups access to entities
You can grant users or groups access to entities to:
-
Grant staff access to specific entities instead of granting them system-wide roles.
For example, assign staff members access to client entities that they are assigned to work on their respective engagements, rather than have them access all clients engagements in the firm.
-
Grant client contacts the necessary permissions to access and respond to queries, as well as view or access entity files.
-
Grant users (staff, contacts or groups) access to specific files in an entity.
Grant staff access to entities
Use the following steps to grant entity access to staff or staff groups.
To grant access to an entity:
-
Ensure that you have the Owner role or the equivalent privileges for the entity.
-
From the Cloud menu (
 ), select Entities.
 -
Select the entity you want to grant access to, then select Share (
 ).
).
-
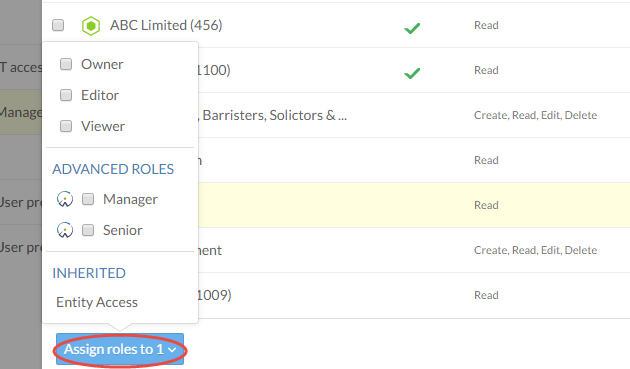
Search for the groups, staff members you want to grant access to, then select Assign Roles to (#).
-
Choose the appropriate staff role.
Roles that users already have due to previous settings appear under Inherited.
-
Select Share.
You can also grant access to multiple entities simultaneously by selecting more than one entity. Note that in if you grant access to multiple entities simultaneously, you can only assign one role for each user you select. For example, if you select entity A and entity B, then you can only assign the selected staff member the Viewer role on these two entities. You cannot assign Viewer and Editor, for instance.
To grant access to multiple entities:
-
Ensure that you have the Owner role or the equivalent privileges for the appropriate entities.
-
From the Cloud menu, select Entities.
-
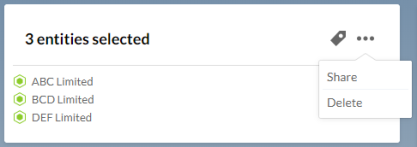
Select the entities you want to grant access to, then select More Actions | Share.
-
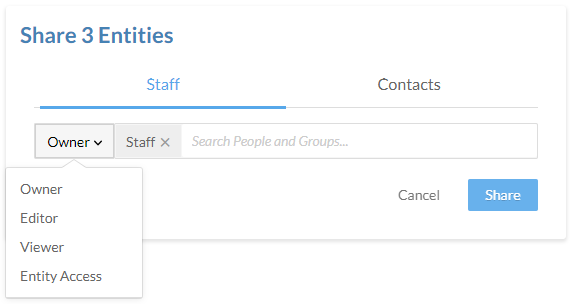
Select Staff, if you want to grant access to staff members. Select Contacts, if you want to grant access to client contacts.
-
Choose the appropriate role from the drop-down .
-
In the search field, enter the name of the group, staff member or contact you want to grant access the role to.
-
Select Share.
The drop-down displays a different list of roles based on whether you've selected Staff or Contacts in Step 4.
Grant client contacts access to entities
To collaborate with client contacts using queries, your need to assign them the necessary roles so they can access query documents and respond to information requests, as well as allow them to view or access entity files.
To grant the necessary roles to client contacts:
-
Ensure that you have the Owner role or the equivalent privileges for the entity.
-
From the Cloud menu (
), select Entities. -
Select the entity you want to grant access to, then select Share (
). -
Search for contacts you want to grant access to, then select Assign Roles to (#).
-
Choose the appropriate contact role.
-
Select Share.