View and manage job details
You can select More actions (![]() ) in Accomplish to open a job card and view details. The information displayed in the job card depends on the item type.
) in Accomplish to open a job card and view details. The information displayed in the job card depends on the item type.
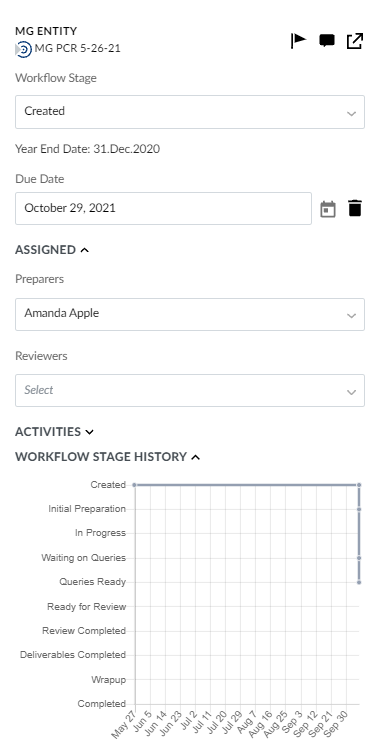
In the expanded view of engagement job cards, you can view the year end date, current workflow stage, assigned staff members, any activities related to the engagement, the workflow stage history and reminders you have set for the engagement. You can use the drop-downs to update the workflow stage and assign staff members to the engagement directly from the card.
Note: You must create a workflow for Working Papers files to track and change their status in Accomplish. See Create workflows for more information.
The card also displays whether there are any open issues in the engagement and links directly to the engagement file.
In query, task and file request job cards, you can view and modify job details such as the subject, description, assignee and due date.

Set reminders
You can set a reminder to receive a notification before a task is due.
To set a reminder:
-
Select More actions (
 ) for a job card to open it.
 -
Select Set reminder next to the Reminder (
 ) icon at the bottom of the card.
 -
Select a date from the calendar.
A Reminder () icon displays at the bottom of the job card to notify users that a reminder has been set. The job card will be displayed in the Reminders column on the Overview view page on the date you have selected.
To remove a reminder, you can select No reminder from the drop-down or select Delete (![]() ) next to the reminder drop-down.
) next to the reminder drop-down.
Create notes
You can add notes to a job card, which allows you to:
-
Add a text reminder or extra information about a task.
-
Tag staff members.
-
Have a conversation about a job by creating additional notes on the same card.
Note: You cannot add notes to query job cards.
To create a note:
-
Select the Create Note (
 ) icon on the bottom right corner of the job card.
You can also open the job card and then select the Create Note (
) icon from the top right corner -
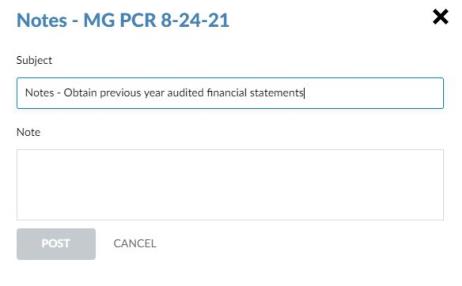
Add a Subject if applicable.
Note: The Subject field must be filled for notes corresponding to engagements
-
Enter the content of your note in the Note field.
-
Select Post to create the note.
The Note ( ) icon becomes green once notes have been posted to a job card. You can select it again to post more notes.