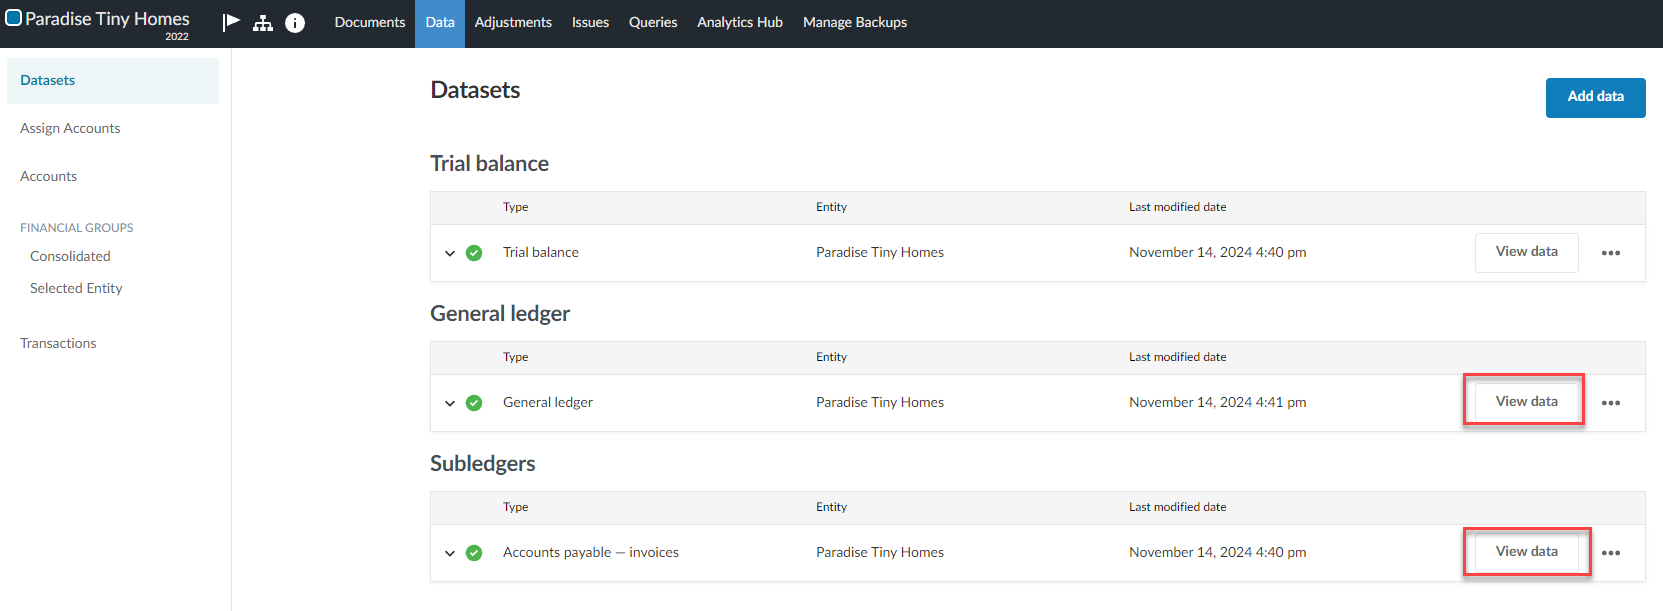
View the client's general ledger and subledger data
If you have imported your client's general ledger and subledger data, on the Datasets tab, on the Data page, click View data.
Note: The View data button is only visible on the Datasets tab if you've successfully imported data.
Sort data
Column sorting
The columns by which the data in the dataset can be sorted are marked with an upward arrow (![]() ) to indicate the data is sorted ascendingly, or a downward arrow (
) to indicate the data is sorted ascendingly, or a downward arrow (![]() ) to indicate the data is sorted descendingly. Click the column header to change the direction of sorting.
) to indicate the data is sorted descendingly. Click the column header to change the direction of sorting.
Multicolumn sorting
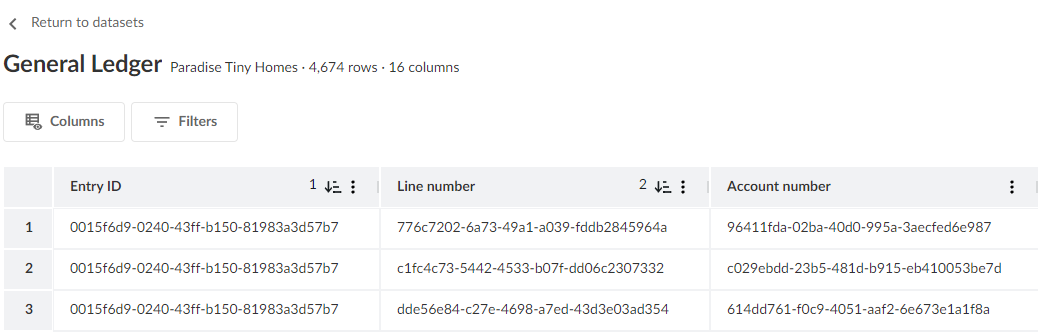
A number and a sort arrow ( ) appears on multiple columns to indicate multicolumn sorting. In the example below, the data sorts by Entry ID and then Line number by default.
To change the column sorted first:
Hover over the column marked 2 and hold down Shift while clicking the column header.
Column-level options
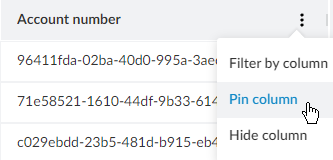
Select the dropdown ( ) on a column header to make a list of options appear.
Select Pin column to move the column to be the first column on the left.
-
Select Hide column to hide the column.
-
Select Filter by column to filter rows in the data to show only those containing the value you specify. In the example below, only those data rows where the line number contains the value `96` will be shown.

Filter the entire dataset
You can filter the entire dataset by clicking Filters and then in the Filters panel, making selections for any of the columns in the dataset. All the column filters use the CONTAIN operator, whereas the entire set of filters use the AND operator.
In the example below, data rows will be retained by the filter if
Source = Xero — 11/14/24 4:40 pm
AND
Account number = *96* (any account number containing the value `96`)
AND
Account name = *Receivable* (any account name containing the value `Receivable`
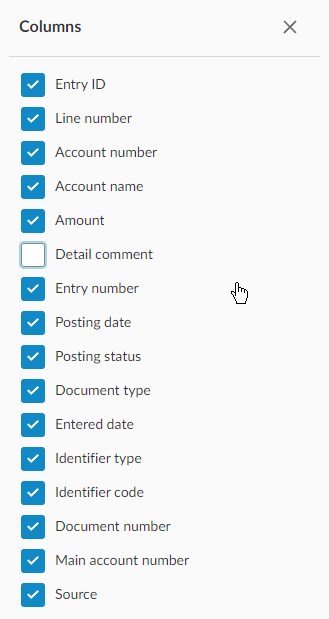
Exclude columns from the view
You can exclude columns from the data displayed by clicking Columns, and then selecting those you do not want to appear.